Update: At least one source is now telling me that these vans did NOT come with any tint from the factory. So, in my case, the tint I had to remove was almost certainly aftermarket.
If you were unfortunate enough to buy a van with this type of tint installed, read on. We’ll get through this!
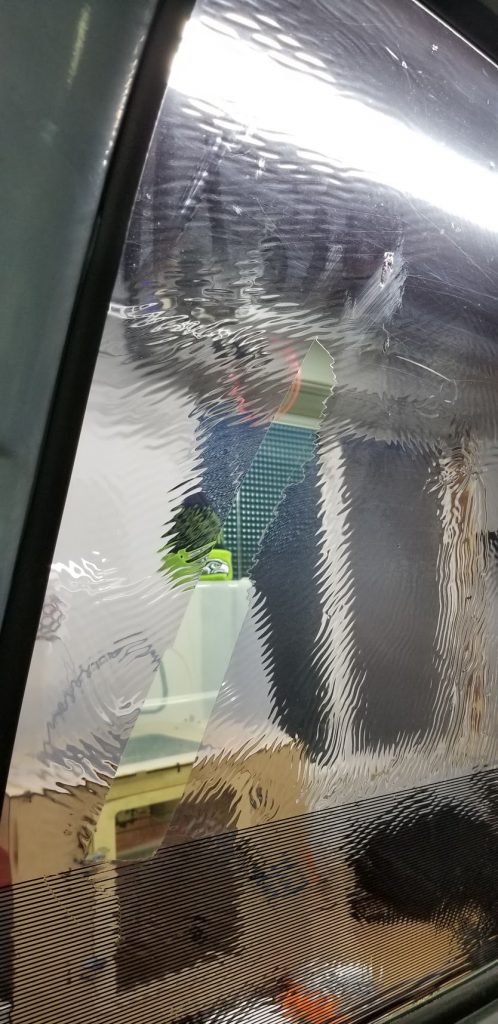
The rear windows in my van came with a purple tint. The adhesive that held it on was really thick, and over time ugly ripples had formed. The tint was also very delicate and had many scratches and gouges in it.
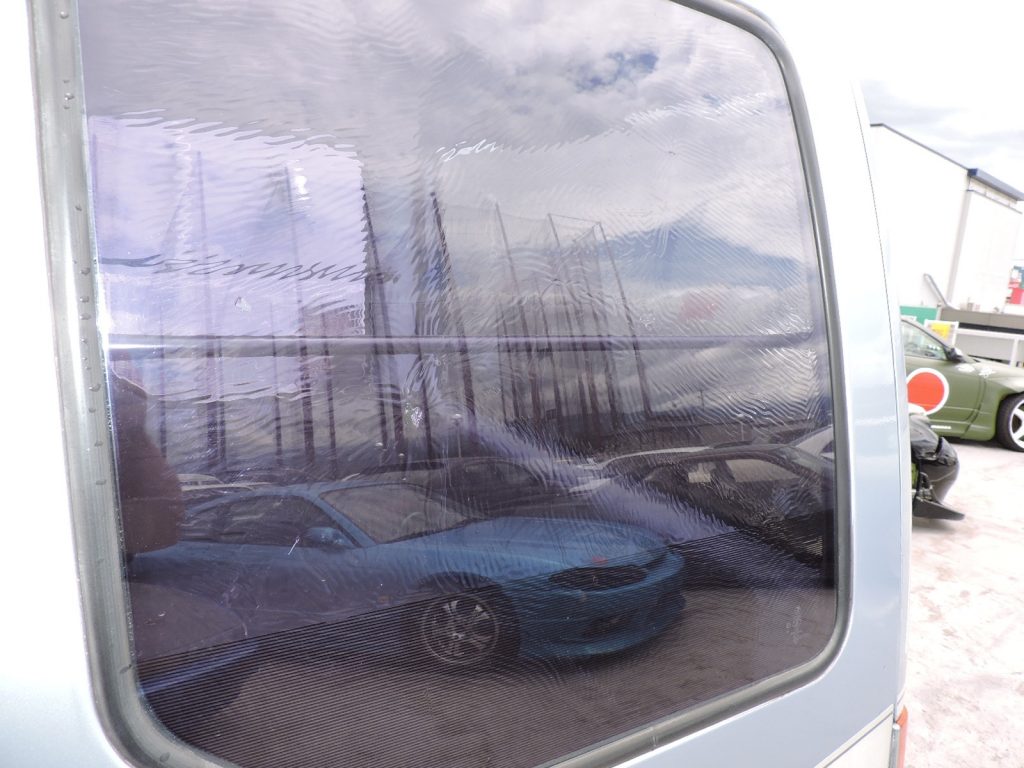
I went ahead and removed the tint altogether since it looked awful and wasn’t serving any useful purpose.
Recommendations
- Wear disposable gloves. The adhesive is nasty to get on your skin.
- Use a razor blade scraper like this one.
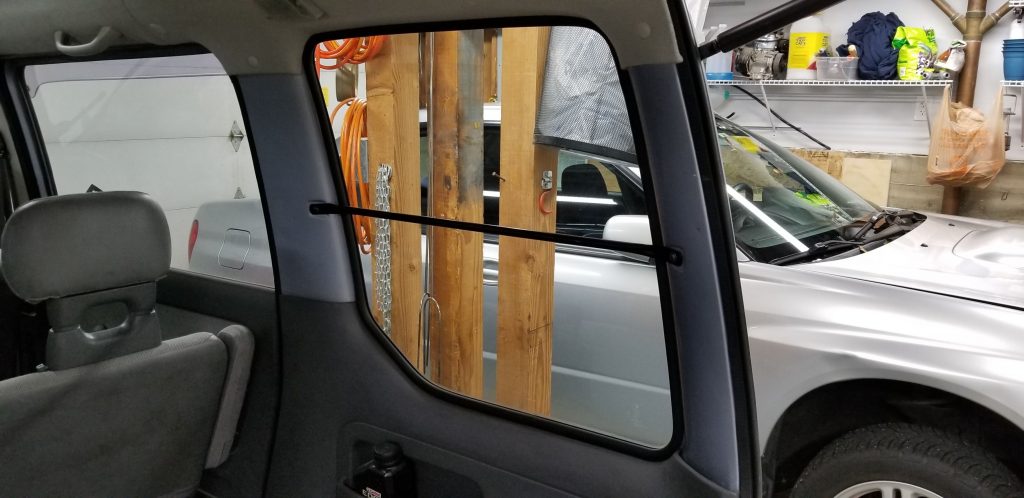
- Remove the guard bars first — they are held on with two Phillips-head screws each and come off easily.
- Scrape the bulk of the tint away before introducing any solvents to the mix.
- Then, come back with paper towels soaked in isopropanol (rubbing alcohol) to clean up residue as best as you can.
- Next, clean up your scraper and do a final pass to remove any tiny left-behind chunks still adhered to the windows.
- Finally, use isopropanol and paper towels to clean up the last bits of residue.
This is not a particularly fun job. The adhesive smells like grapes and the tint tends to want to fragment into tiny pieces that are tough to remove from your scraper or whatever they land on. The end result is great, though, and totally worth it.