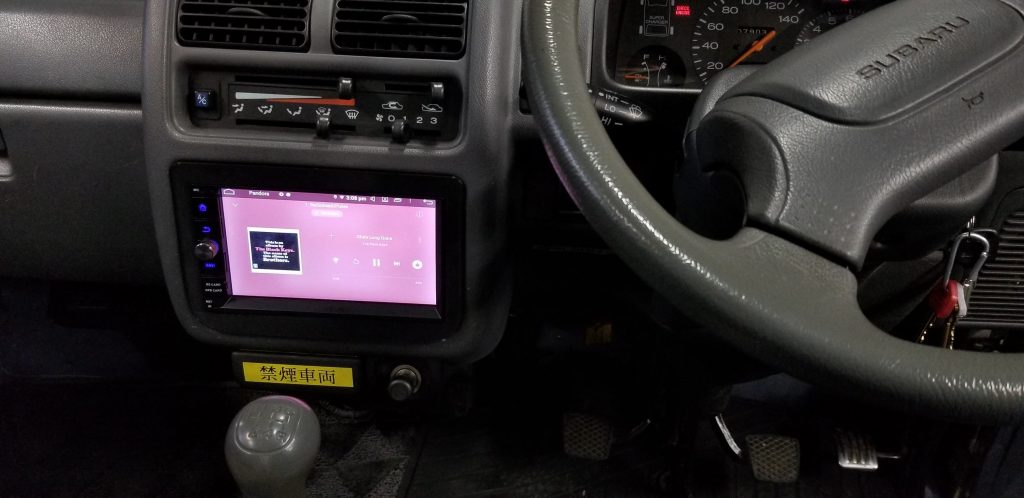
Many years ago, I installed an Android tablet in my 2002 WRX in place of the head unit. Later, I installed an Android head unit in my girlfriend’s 2010 Impreza. Both projects were a rousing success, so Android has become my go-to standard for car head units. Being able to tether the car’s stereo to my phone for internet access and run Android apps is just too nice. I mostly run Waze for navigation and traffic/police reports, and Pandora and Spotify for music.
The Sambar can indeed fit a double-DIN head unit, although it is a tight fit. There is very little room toward the back of the cavity for connectors and wires to live. I ended up having to slightly modify the brackets that came with the van, but in the end it only took a couple of hours to get the new Android head unit mounted and working.
Removing the Stock Head Unit
The stock head unit is fitted with a black plastic shroud. I had no intention of saving or re-using it, so I didn’t exactly use a gentle touch when removing it. The first step was to pry back the upper side of the shroud, above the stock head unit. Then after getting that loose, the lower section has two small plastic tabs that have to be released (or broken) in order to extract the shroud. I’m told that if you’re careful, it’s possible to coax these into releasing intact, but I definitely broke them.
Next, to remove the head unit you need to remove four Phillips-head screws. Two are easily visible up front, two are tucked a few inches back.

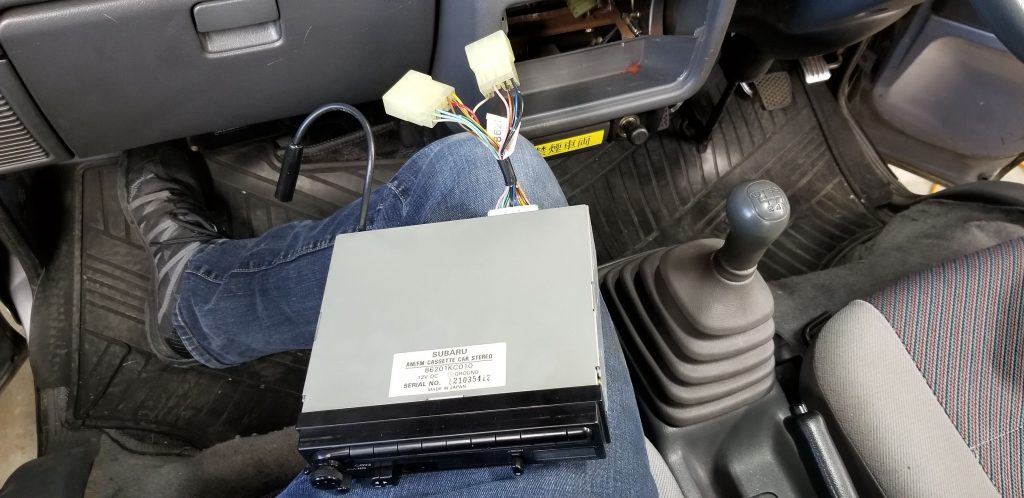
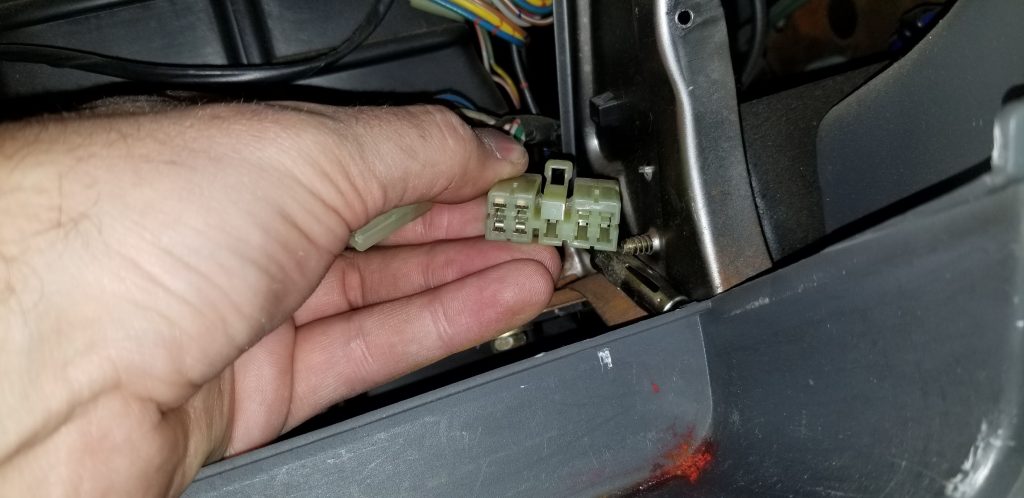
Finally, you can pull the head unit out and unplug it at the back. Save the side brackets, as you will need them to mount your new head unit.
Wiring the New Head Unit
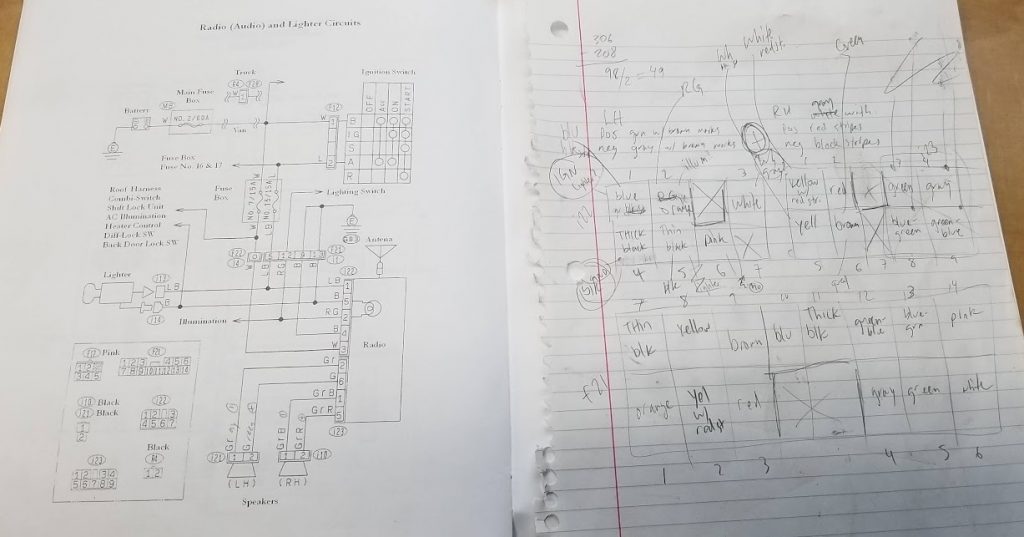
I created a wiring harness for the new head unit by cutting the connectors off the old head unit and then soldering them to the plug that came with the new one. The soldering itself was pretty trivial, but figuring out which wire does what took a couple of hours. I ended up with a sheet of notes which is something of a cross between a murder board and the frenzied scribbling of a crazy person, but I was successful in figuring it all out in the end.
Here is what I determined. I can’t promise there are no errors here, as I did this wiring in early November 2019, didn’t document it very well at the time, and didn’t get around to typing this up until late January 2020. The wire colors listed are the wires that come out of the connectors that I cut off the old head unit, which I soldered to the new connector. They are NOT the colors of the wires coming out of the main connectors inside the head unit cavity (vehicle harness connectors), so ignore those.
- Connector i22 (2 rows of 4)
- 1. Blue – Ignition power
- 2. Orange – Illumination
- (blank)
- 3. White (gray?) – 12 V constant power
- 4. Black – Ground
- 5. Black – Cigarette lighter ground
- 6. Pink – ?
- 7. (unused)
- Connector i23 (2 rows of 5)
- 1. Yellow w/ red stripe – Front right speaker (+)
- 2. Red – Front left speaker (+)
- (blank)
- 3. Green – ?
- 4. Gray – ?
- 5. Yellow – Front right speaker (-)
- 6. Brown – Front left speaker (-)
- 7. (unused)
- 8. Blue-green – ?
- 9. Green-blue – ?
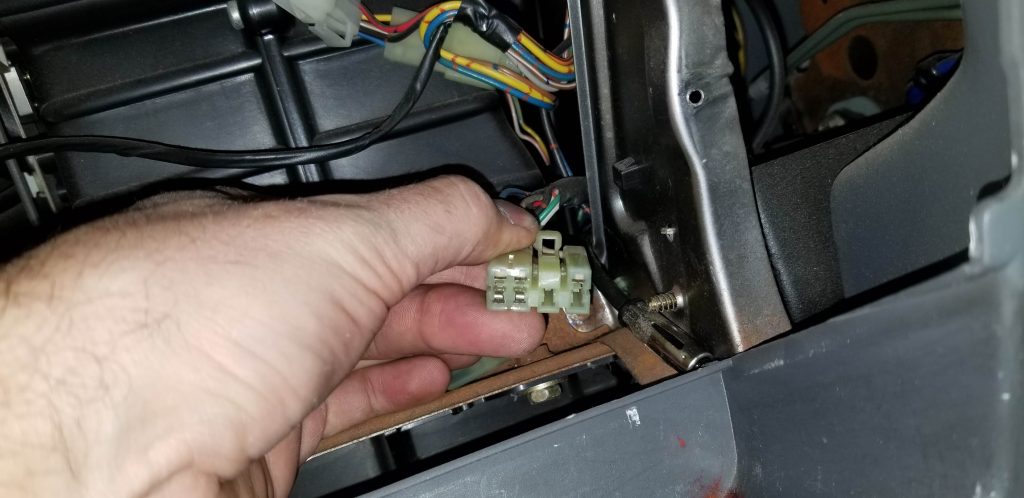
As I mentioned before, there is very little space behind the head unit once it is installed for wires and connectors. To help make it more manageable, I taped the two connectors on the vehicle harness to each other as shown, using T-Rex tape. This allowed them both to lay flat against the back panel next to each other rather than stacking one in front of the other and taking up an extra ~10 mm of space.
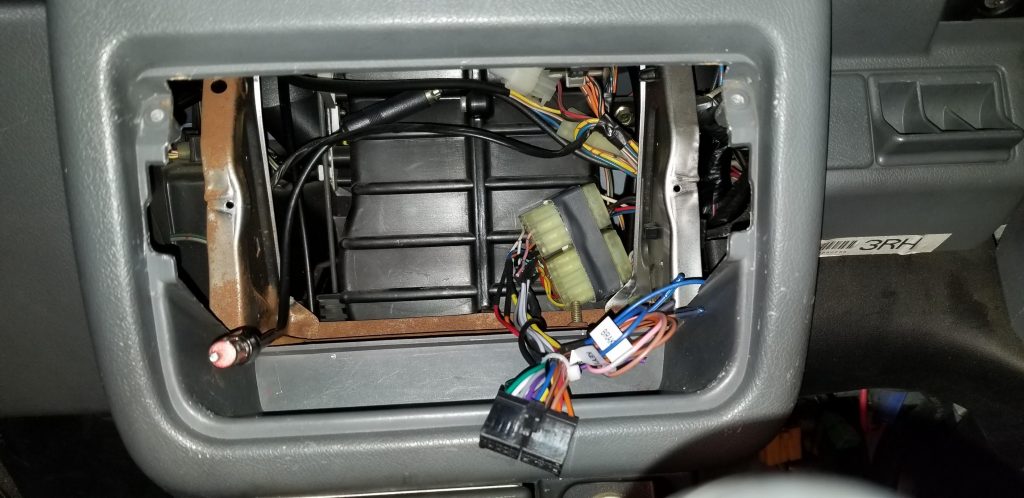
Another item you will need for this operation is an antenna cable extender. I could not get the cable to reach all the way from the right side to the left and plug into the back of the head unit. I bought this one and it did the trick perfectly.
Mounting the New Head Unit
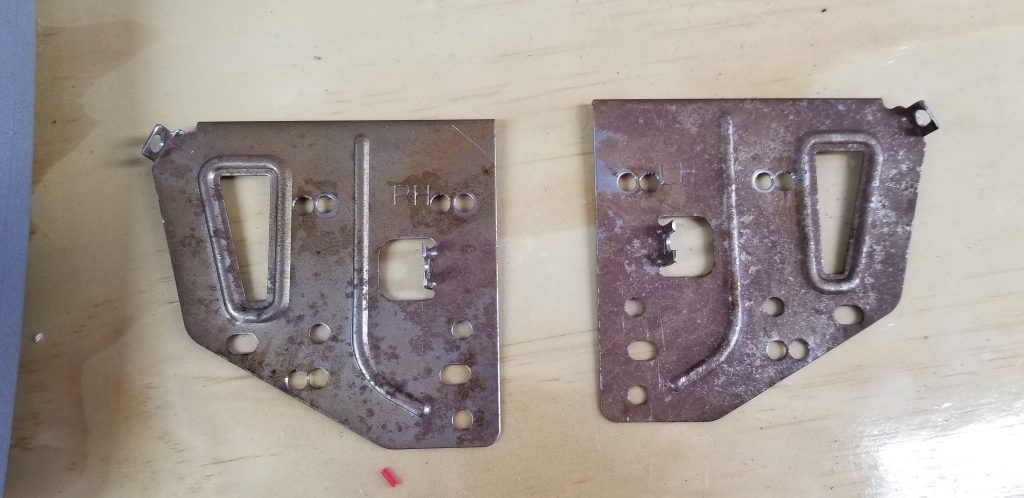
First, I attached the brackets to the head unit using the pattern of holes that would get me closest to the right mounting. After doing some test fitting, I determined that I needed to bring the head unit out by about 6 mm in order to create enough space behind it for the wires and connectors to live. (I later learned this was not enough, but 6 mm is where I started.)
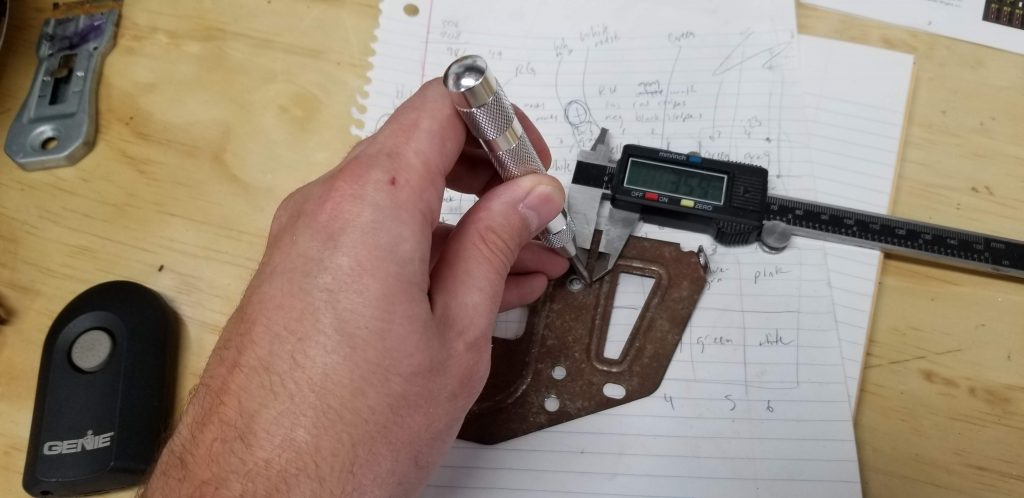
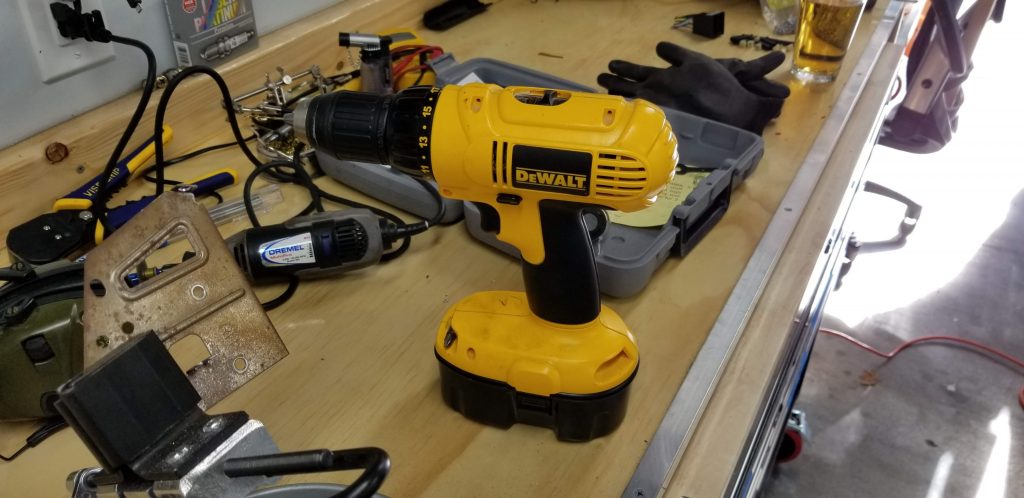
Next, before removing the brackets from the head unit, I marked which of the holes I had been using. Then, I removed the brackets, and used a pair of digital calipers and a pencil to make a mark 6 mm forward of each hole. I used an auto-center punch to dimple the bracket at each of those locations, which helps prevent the drill bit from wandering when you are trying to start the hole. My Panavise was a useful tool during this process.
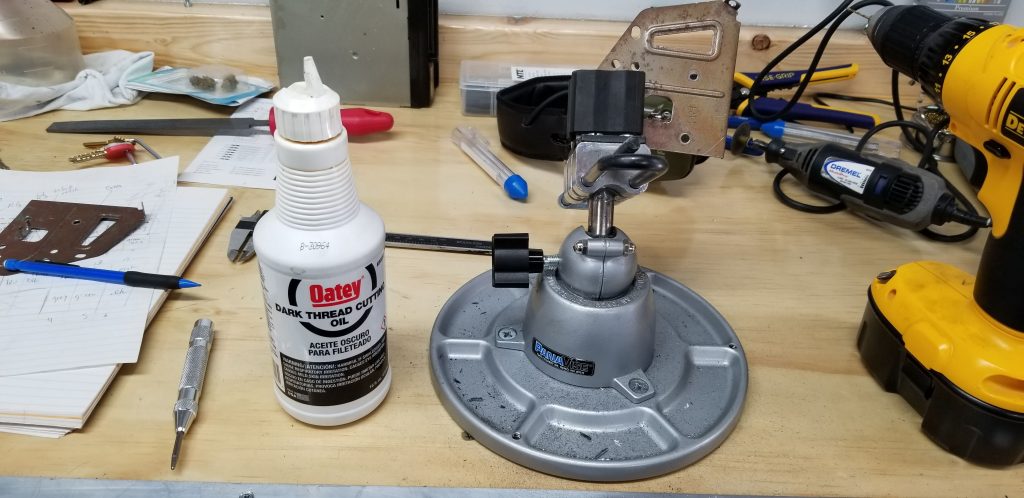
I used my hand-held Dewalt drill to drill the holes, first with a 1/16″ or 1.5 mm drill bit to form a pilot hole, and then with a 5.5 mm bit to open them up the final size. Finally, I used a countersink bit to deburr both sides of each hole.
Unfortunately, after installing the modified brackets, I found there was still a bit of a gap. I ended up using my hand-held Dremel rotary tool with a very small carbide burr bit to turn the new holes into slots and buy myself another few millimeters. After that, I was finally able to get the head unit into its proper place and install all four of the screws to attach the brackets to the van.
Finishing Touches
Because I had to shift the new head unit out by a total of about 10 mm relative to what would have been the “stock” or unmodified location, the shroud that came with it no longer sits flush against the rest of the dash when installed. I designed and fabricated a custom shroud to fill the gap instead. It took several iterations, but I eventually printed a successful shroud using black PLA on my CR-10S 3D printer. If you want to print your own, click here to download the STL 3D model.

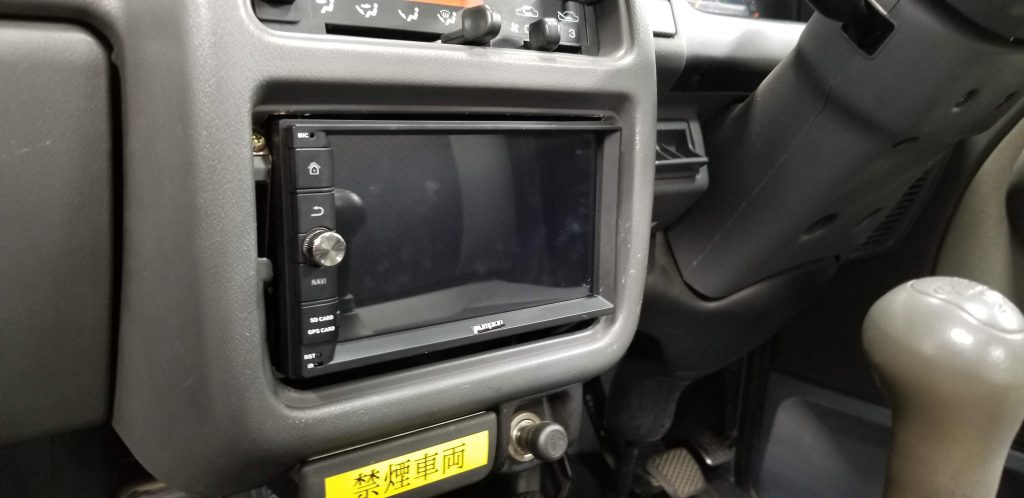
Overall Result
The only real complaint I have is that the head unit location in the Sambar is so low, and it is oriented so that the screen is pretty much straight up-and-down vertical, not leaned back at any kind of appreciable angle. This makes its visibility while driving pretty poor, and trying to do anything beyond the most rudimentary tasks while driving is completely impossible. Of course, you’re not supposed to touch the thing while you’re driving anyway, and the Sambar is already a pretty unsafe safe car with its lack of airbags and crumple zones, so really it’s probably for the best that it’s not easier to use the touchscreen interface while driving.