
One of my few complaints about the Solowheel is that the battery level indicator sucks. It’s green for “mostly charged,” orange for “partially charged,” and red for “almost dead.” There’s no precise way of knowing just how much juice you’ve got left. When you notice the light’s gone red, the wheel might have two miles of charge remaining, or it might die in the next 5 seconds. On top of that, a green-orange-red indicator light happens to be entirely worthless for the ~5% of the population who is colorblind.
My idea was to modify the Solowheel to display the charge with better resolution. I looked into building a circuit which would light up a series of LEDs as a bar indicator, but that seemed like it would be too tricky to do properly. I ended up looking at some panel voltmeters and decided to go that route instead.
I bought a DROK 0.56″ panel voltmeter for about $9 which was a great fit for the Solowheel. This thing measures up to 99 volts and only has two wires, positive and ground, making wiring super easy — it doesn’t require a fixed 12 V power source in addition to the voltage it’s measuring.
I didn’t want to run the voltmeter constantly. My goal was to be able to use it to spot-check the battery voltage to get an idea of the charge level, the idea being that if I know I’m running low, and I get a chance to stop and charge the wheel or hop on a bus for the rest of the way, I can make an accurate judgment whether to stop or to press on. Accordingly, I picked up a momentary pushbutton switch which was about the same size and appearance as the Solowheel‘s power button. (You want the silver version, ideally.)
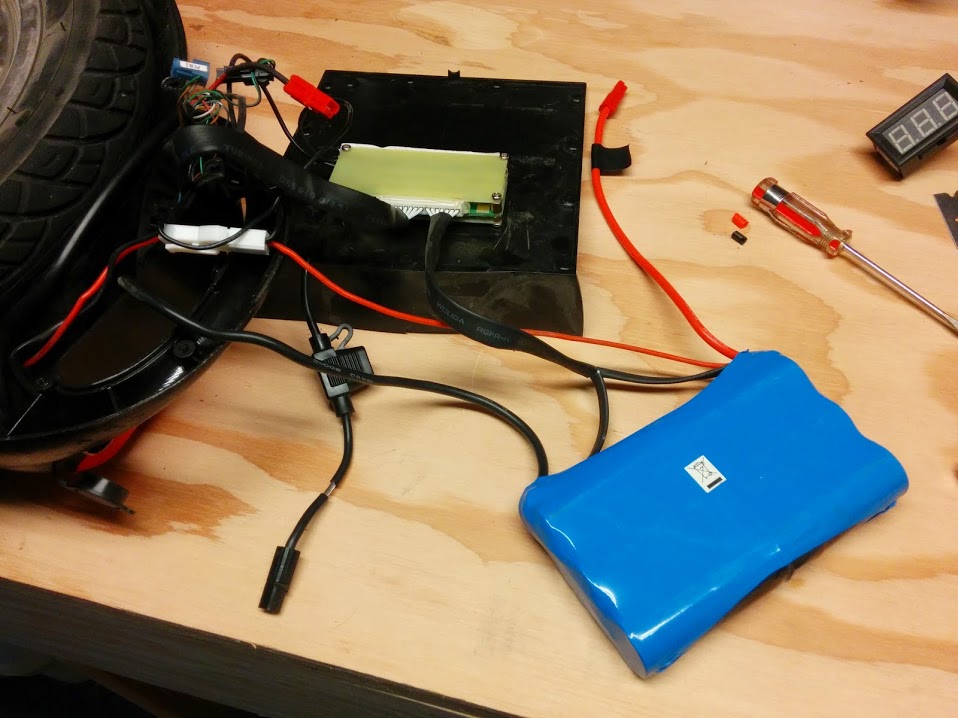
Getting started on this process, I opened up the case of the Solowheel by removing all of the screws around the rim and handle, and then removing the 6 screws above the footrest on the side without the power button.
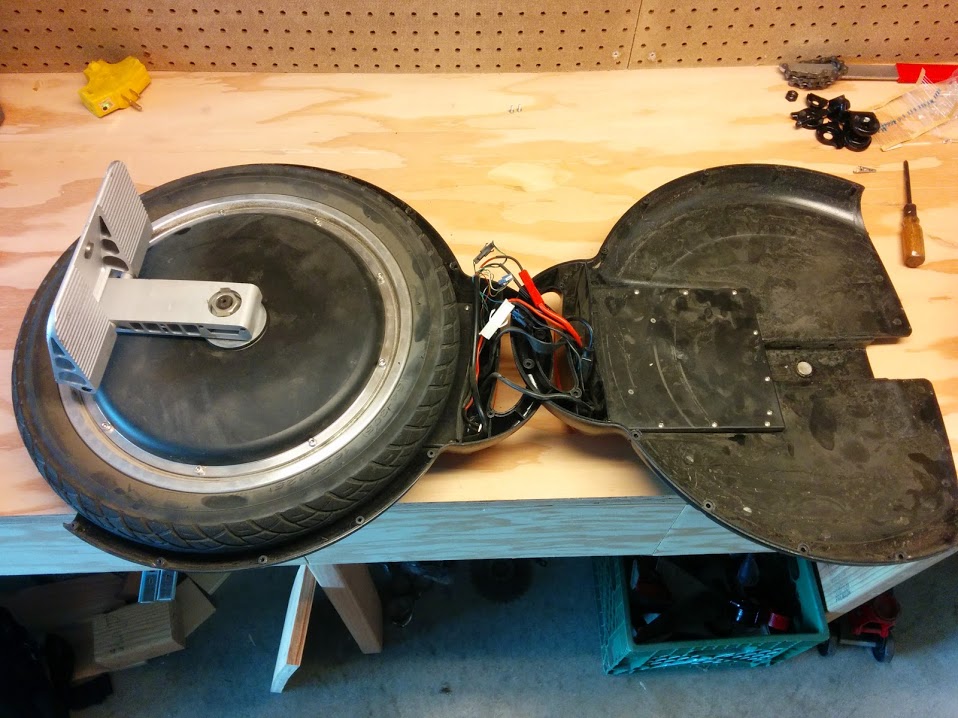

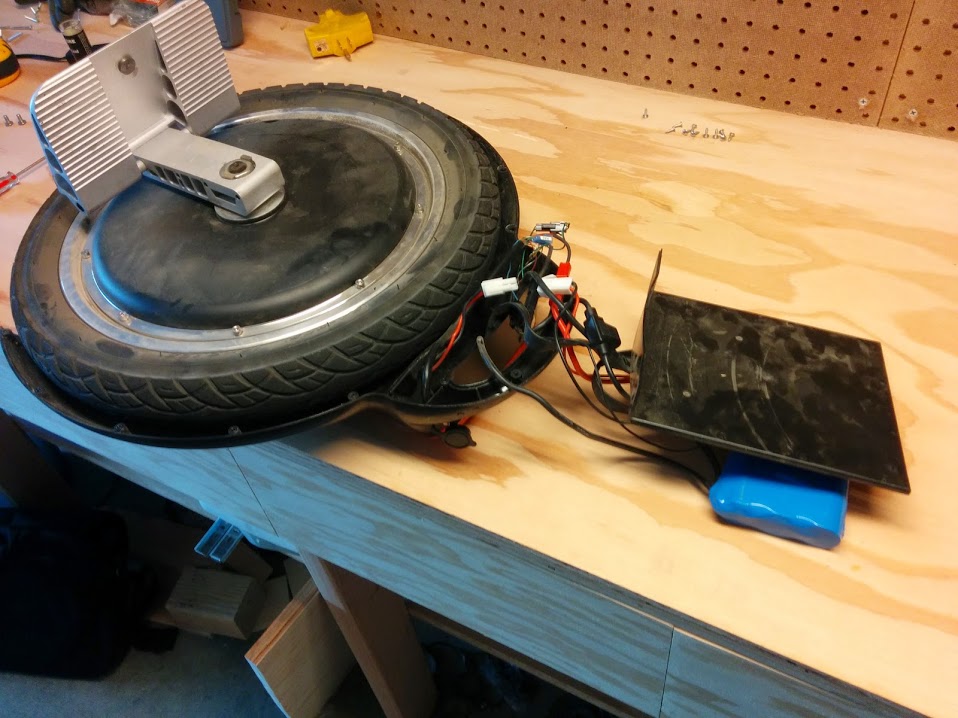
The electronics/battery cover can be removed from the housing by removing about a dozen small screws around its rim. Once this is off, the battery and a circuit board are exposed, and you can fully separate that half of the housing from the Solowheel. This makes it easy to drill/saw that half of the housing for modifications.
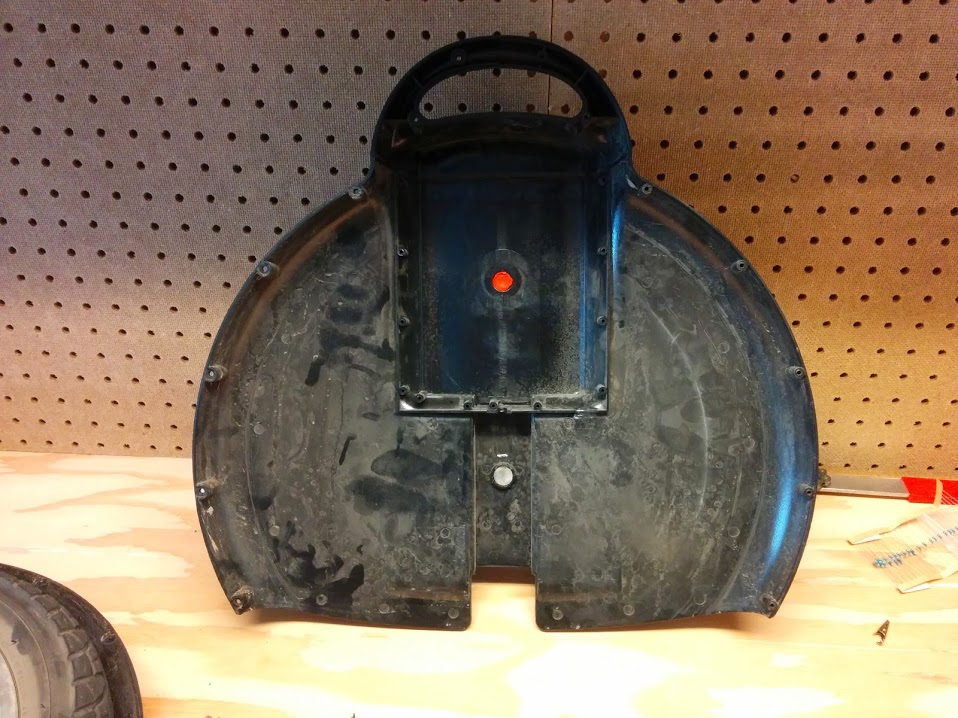
With the housing separated from the rest of the Solowheel, I started cutting it. First, I drilled a pilot hole for the button, and then drilled it out with a 1/2″ drill bit. I kind of hacked up the case in this process. It’s tough to drill a ~13 mm hole in a piece of plastic only ~2 mm thick. But in the end, it came out looking alright.
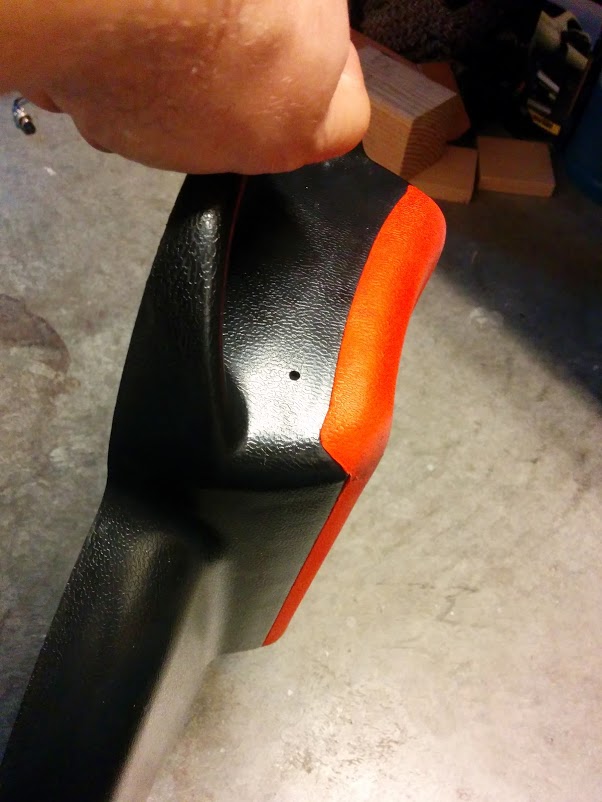
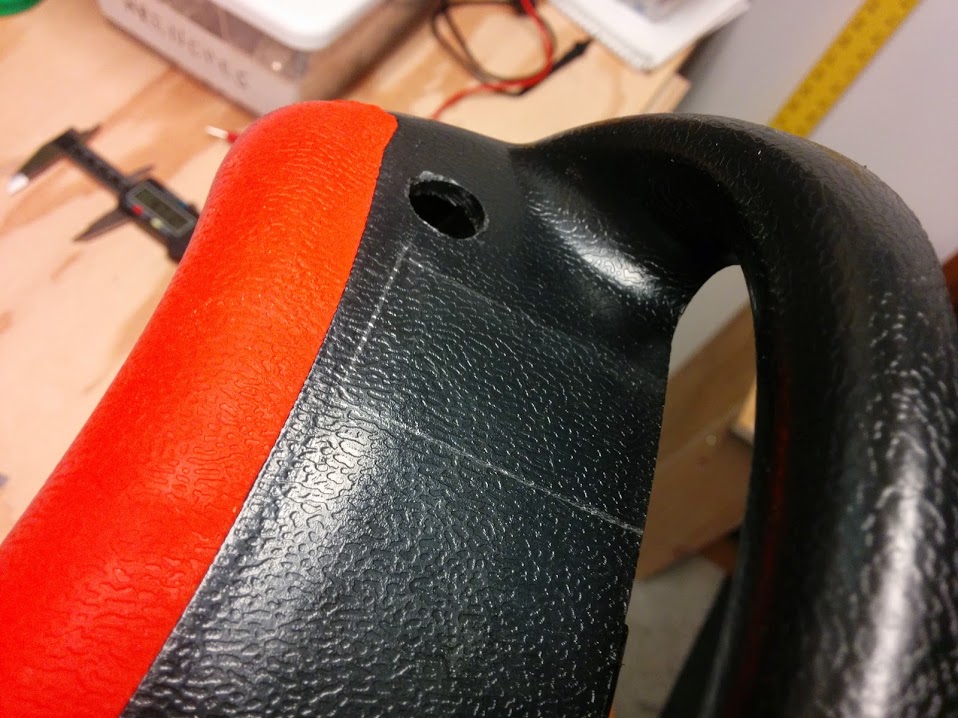
Then, I traced out the planned location of the voltmeter, drilled a couple of pilot holes near the corner, and went to town on it with my miniature hacksaw. To square up the edges and corners of the hacksaw cuts, I used my Dremel with a little cylindrical sanding band, a sharp razor blade, and a healthy dose of patience. Finally, after an hour or so of careful grinding, the voltmeter slid in and fit perfectly. I also had to cut away a small amount plastic on the other half of the housing to clear the voltmeter (no photo).

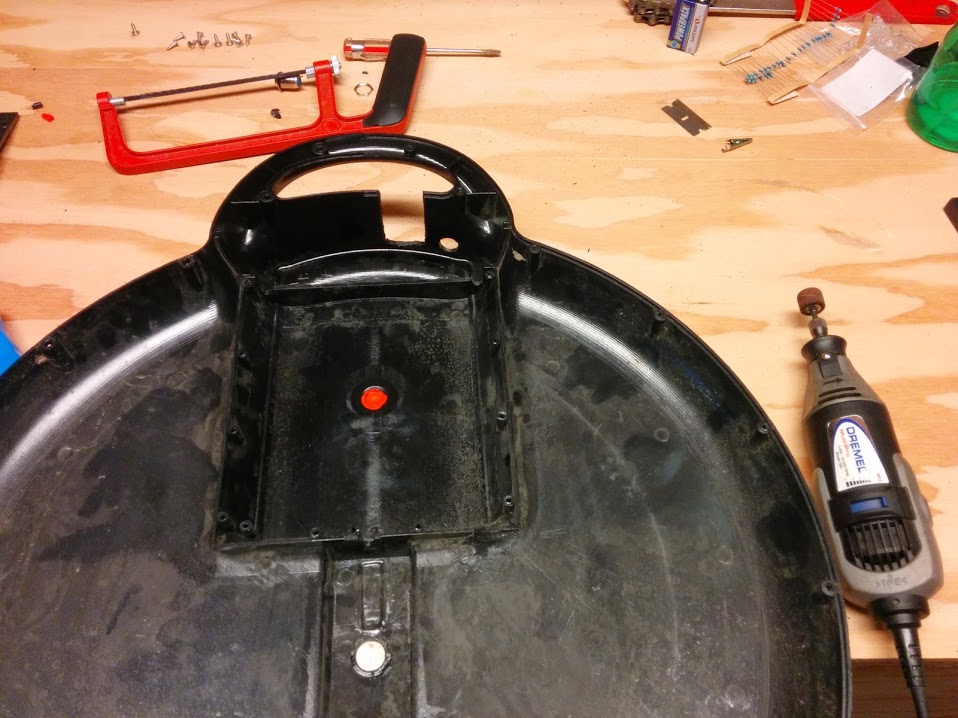
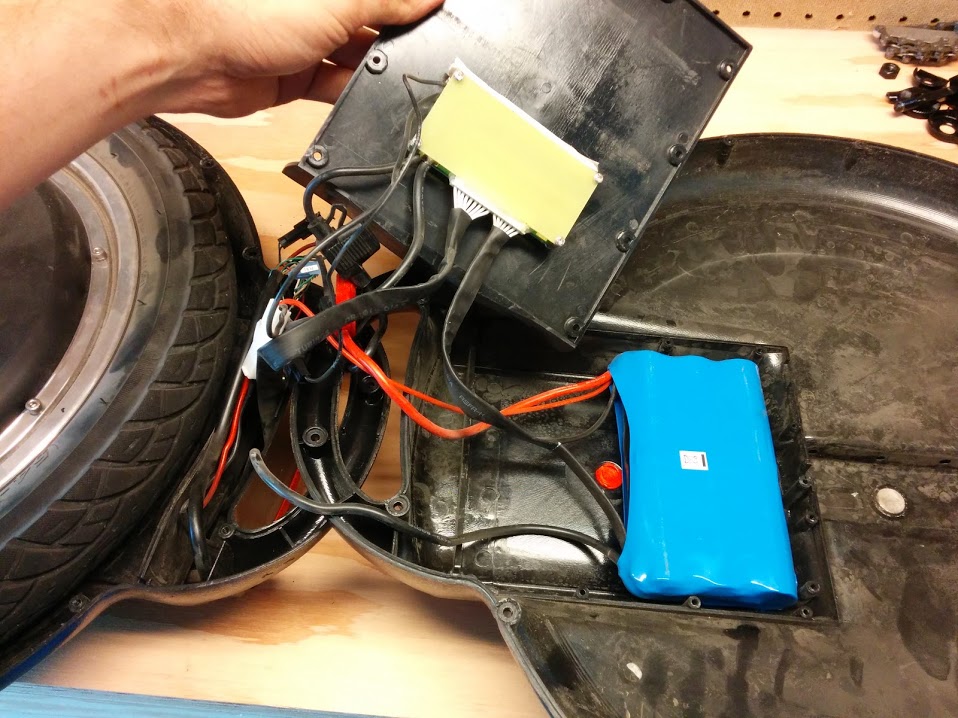
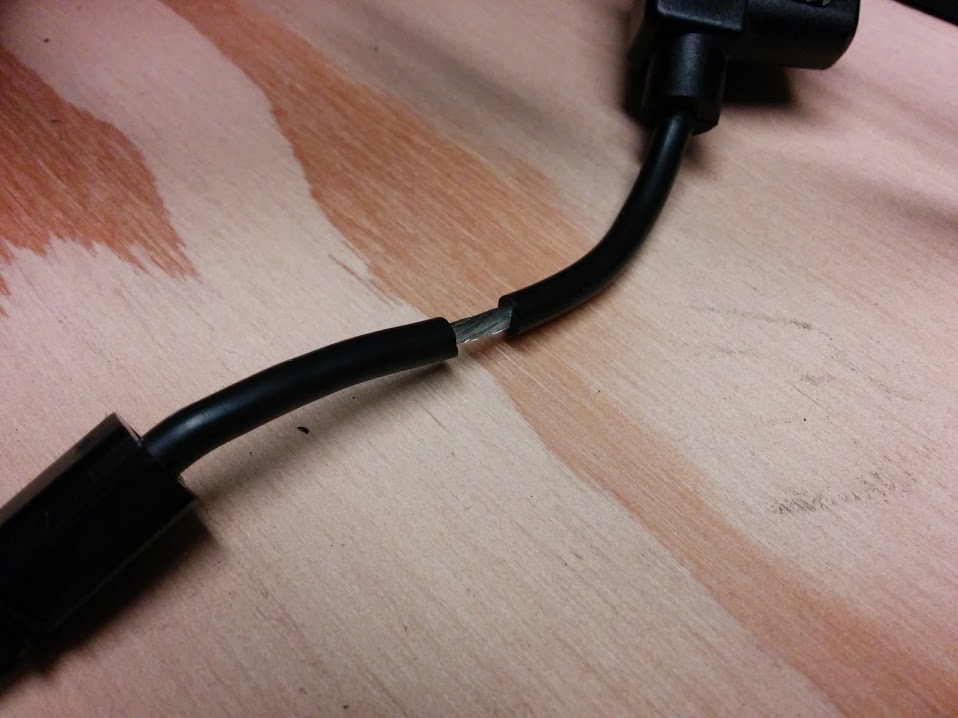
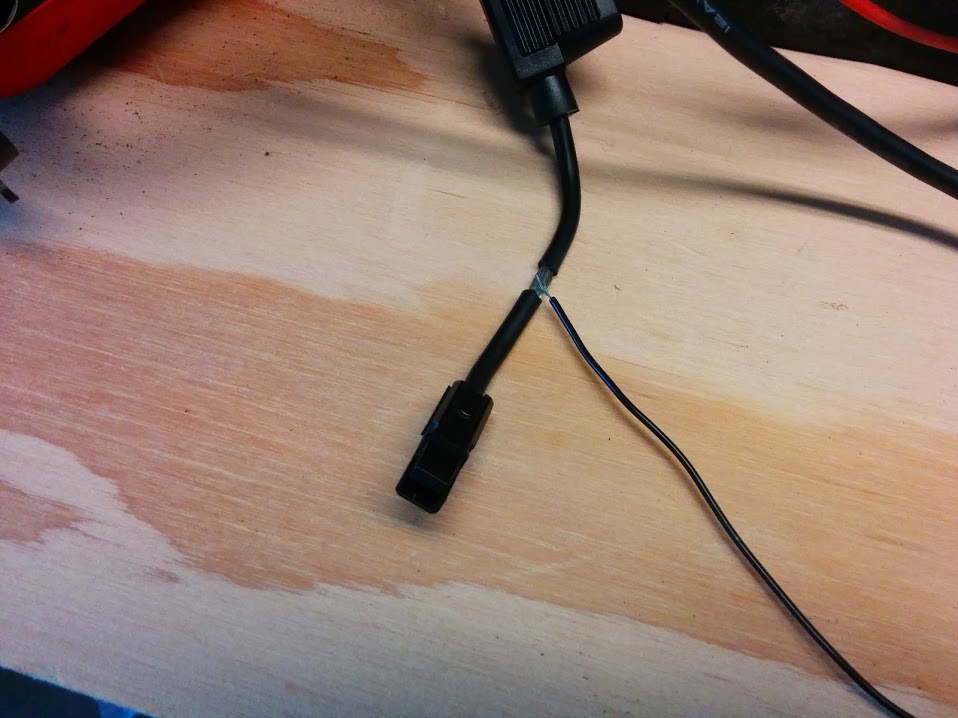
On the electrical front, I tapped into the thick red and black wires in the middle of this photo. These wires connect directly to the positive and negative ends of the battery assembly — there are battery packs in both halves of the housing that are wired together. I stripped away about 10 mm of insulation from each of the two to access the conductors inside (covered by electrical tape on the red wire in the second photo).

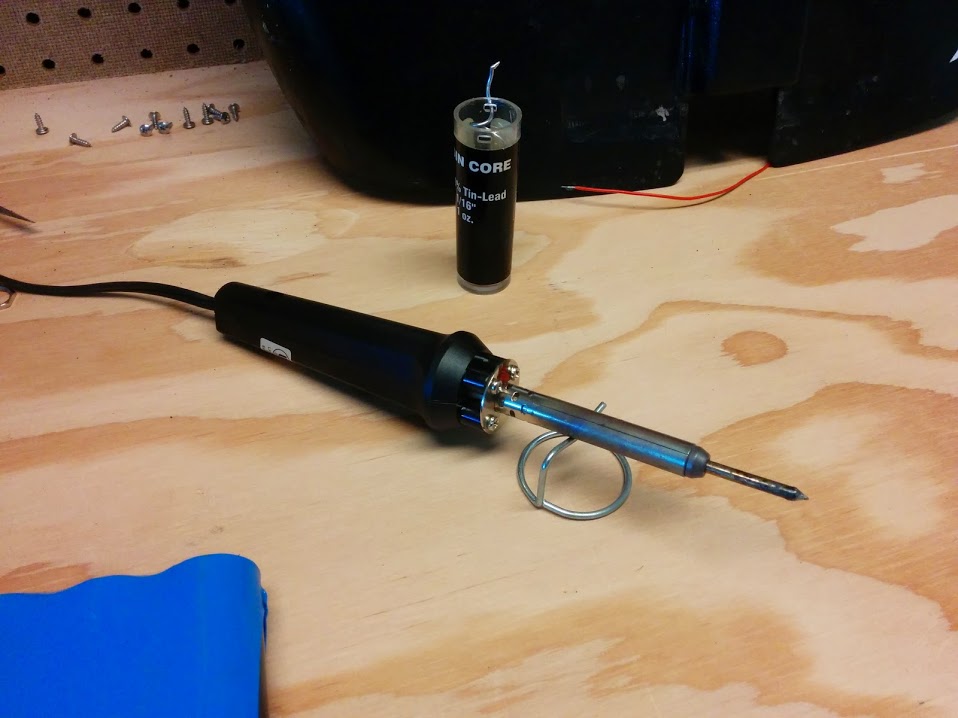
I pulled a couple of wires out of my box of electrical/computer junk which originally came from a computer fan and used them to splice my button and voltmeter into place. This involved a soldering iron and a very heavy dose of being careful about the fact that you’re handling live wires with a voltage of 50 to 60 V DC and there’s a lot of energy stored in those batteries.
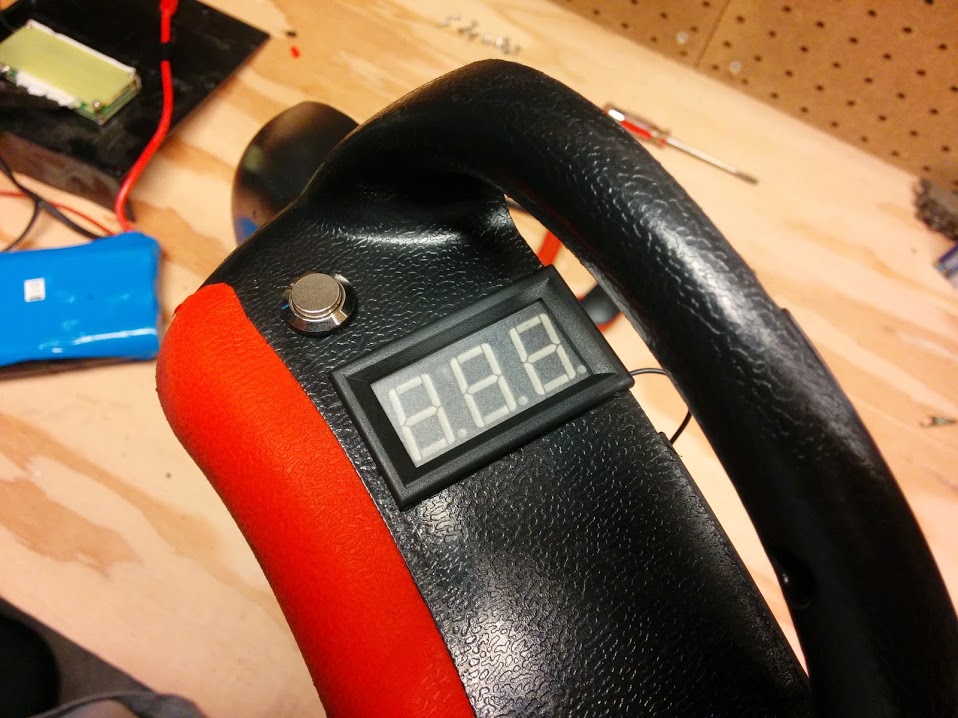
I didn’t take any photos of the actual soldering or putting the case back together, but it was pretty straightforward. The result is excellent, and works exactly as expected. It looks like this:
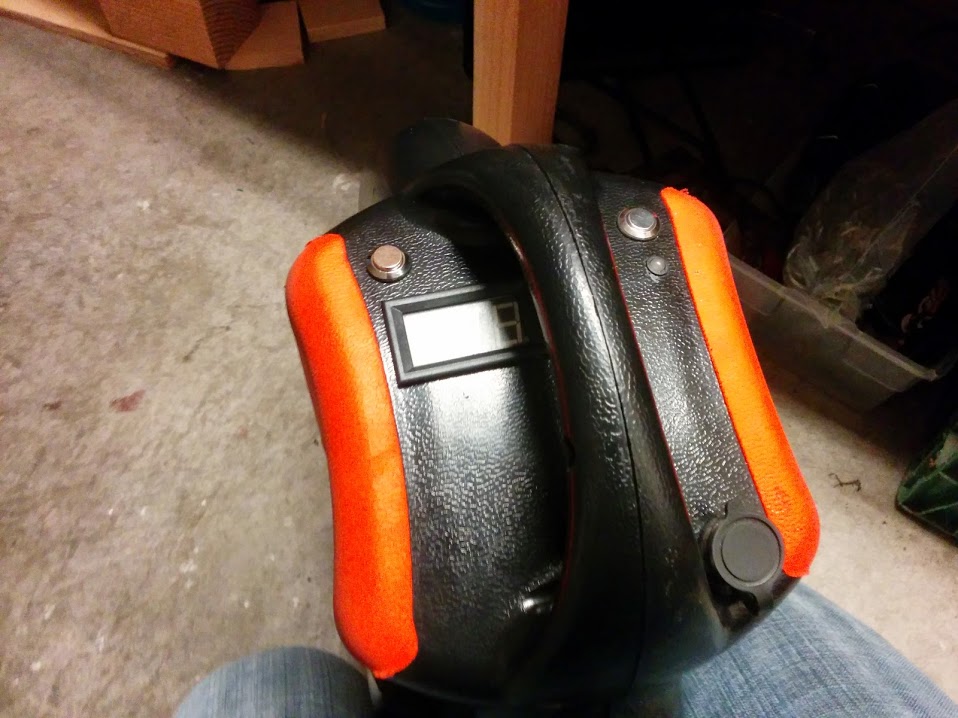
The plan now is to ride it until the battery dies and observe the voltage throughout the process. So far, my data points are:
- Fully and freshly charged: 58.0 V (shown in the photo)
- First 1-2 miles: Holds remarkably steady at 52.6 V, fluctuates between 52.0 and 52.7 depending on how long it’s been sitting still.
I’ll update this post when I know more.