Removing the existing head unit
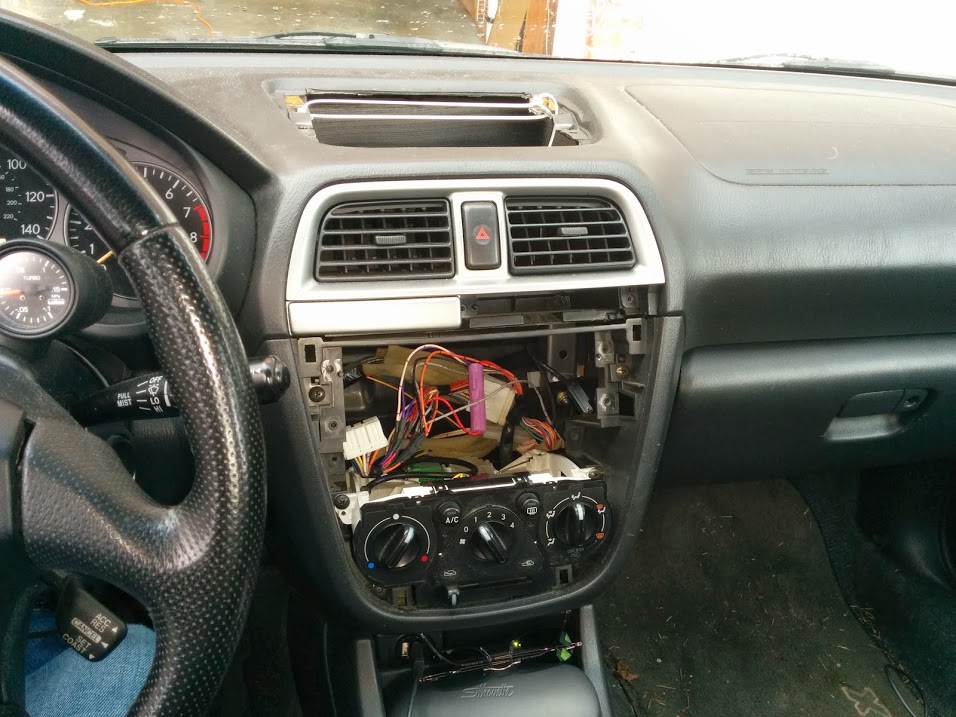
I removed the plastic cover which surrounds the head unit and climate controls, which is accomplished in this car by prying it off with brute force. Not exactly ideal – I’d prefer to remove some hidden screws and remove it gently – but I managed to get the thing off without breaking any of the plastic tabs. I disconnected the battery’s negative terminal, which I suppose is probably necessary to avoid setting off the alarm, but which very well might be one of those CYA-type things that the manufacturer puts in the service manual at the start of every “How to remove X” chapter. I then extracted the stock double-DIN head unit by unscrewing 3 Phillips-head screws on each side, pulling the unit out of the dash, and unplugging and unscrewing the various cables that were connected to it.
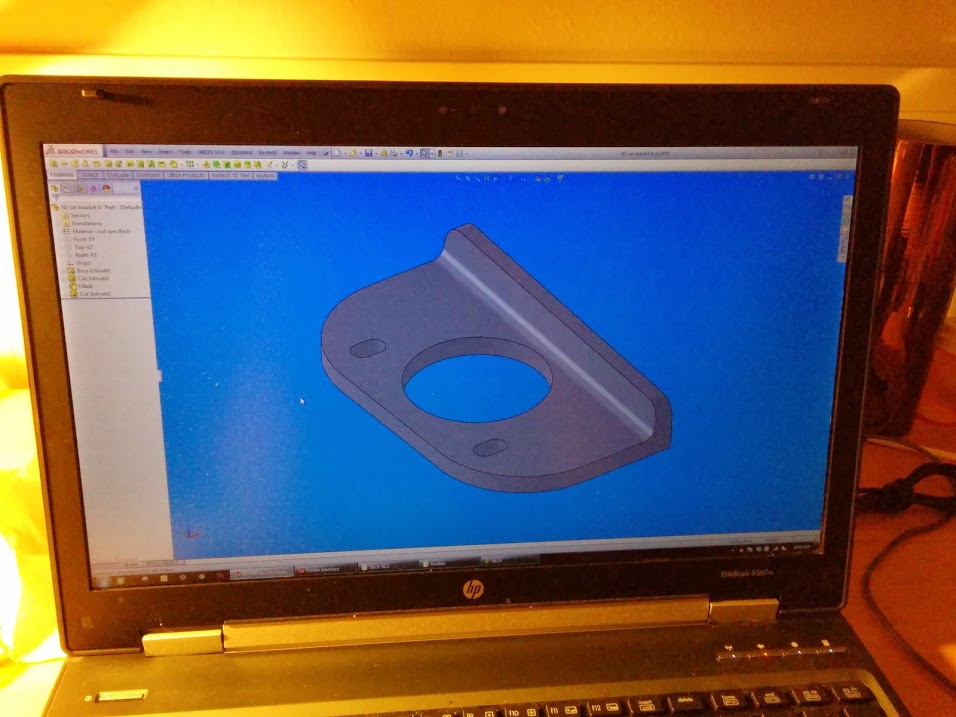
Fabricating a mounting system for the tablet
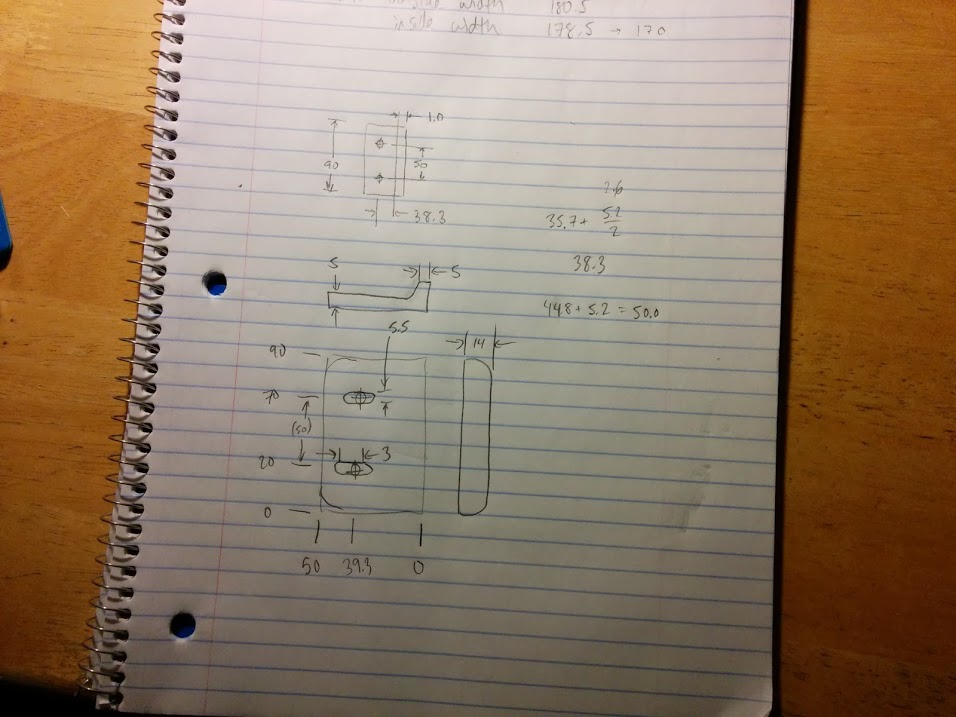
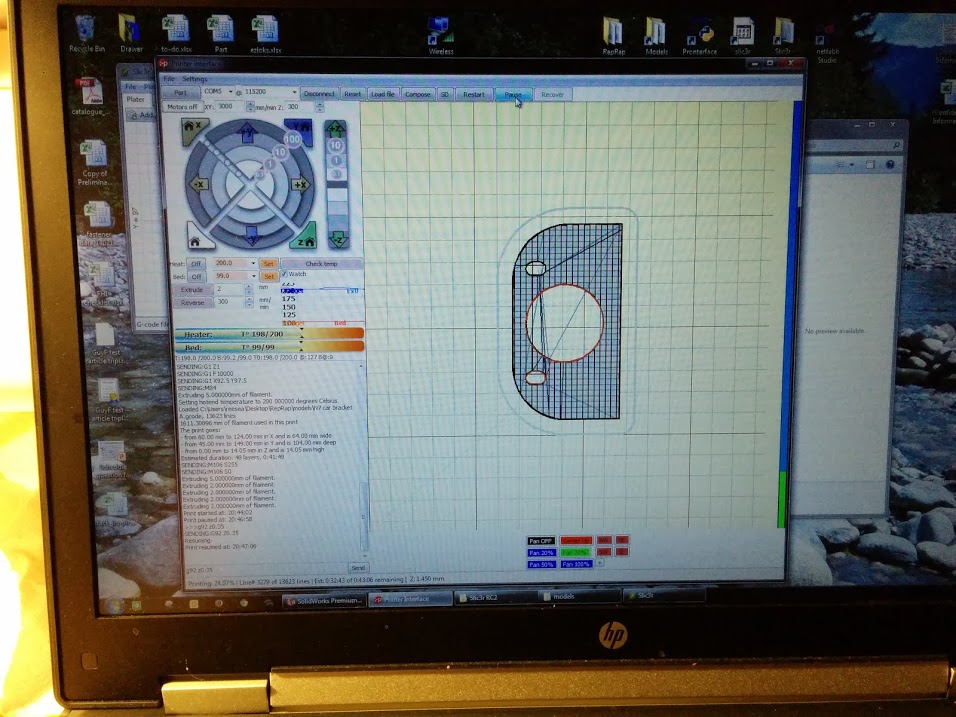
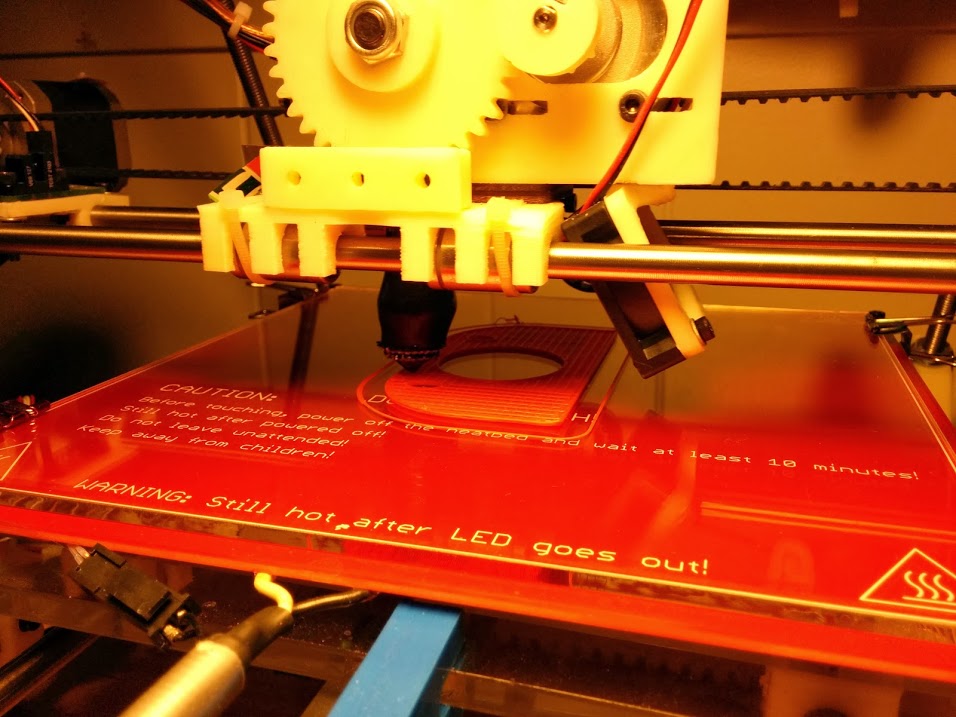
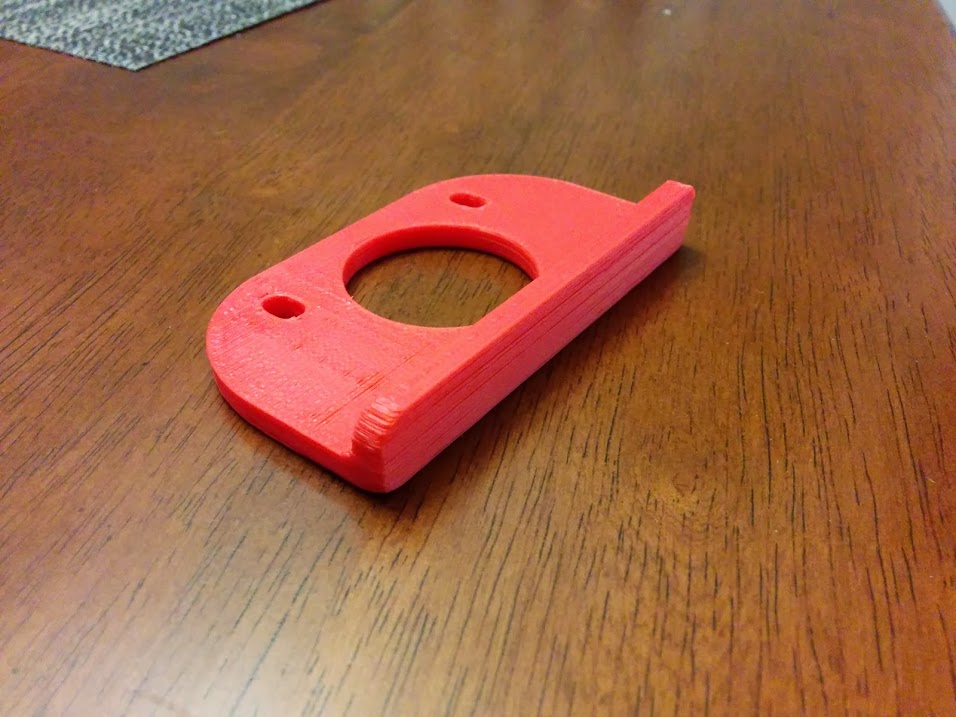
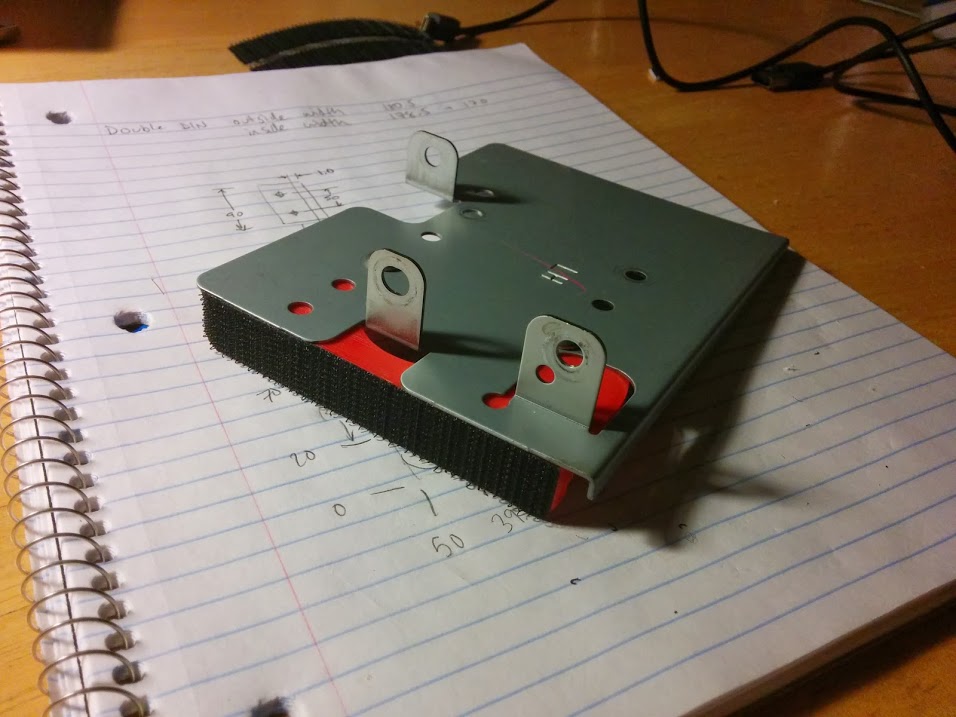
The stock head unit is fitted with two brackets, which are almost entirely symmetric, located on its sides. I removed the brackets. I then designed and fabricated a pair of special adapter brackets which bolt to each bracket and create a pair of forward-facing surfaces to which I could attach the tablet. I used my 3D printer and professional solid modeling CAD software to make the brackets from red ABS plastic, but you could also fabricate similar brackets using hand tools and traditional methods/materials. For example, bent sheet metal, or balsa wood and super glue.
I bought some sticky-backed velcro strips from the local fabric store. The sticky backing works best with a smooth surface, so I first sanded the faces of the adapter brackets smooth with 100 grit sandpaper, then brushed on a coat of acetone and let it dry, which created a nice smooth shiny face for the velcro strips to adhere to. I then attached a hook strip (velcro consists of a strip of hooks and a strip of loops) to each bracket and trimmed away the excess with a razor blade.
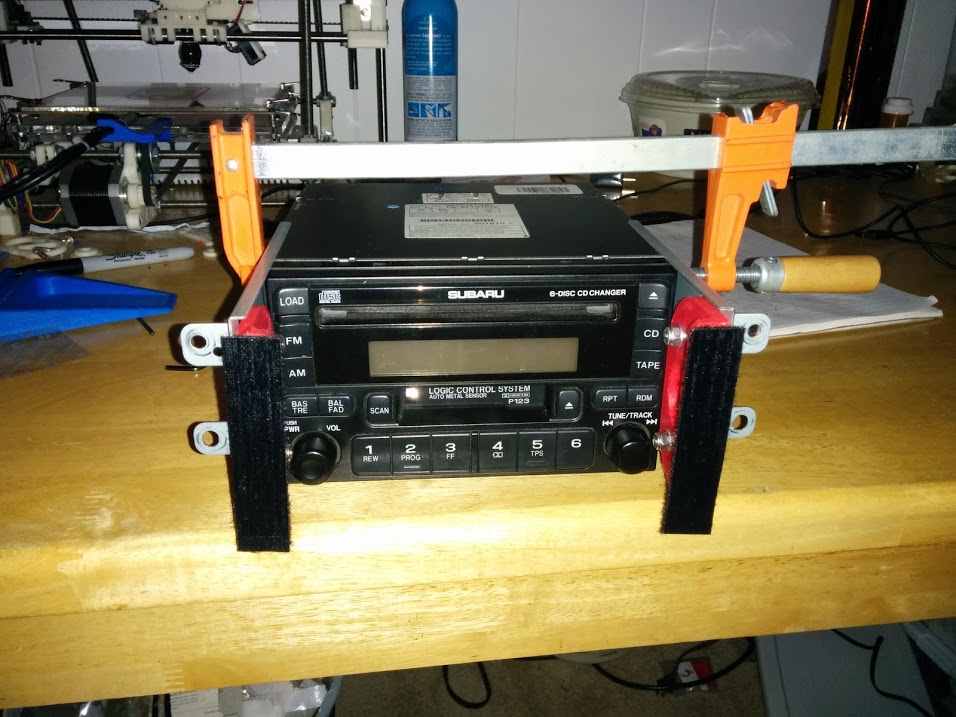
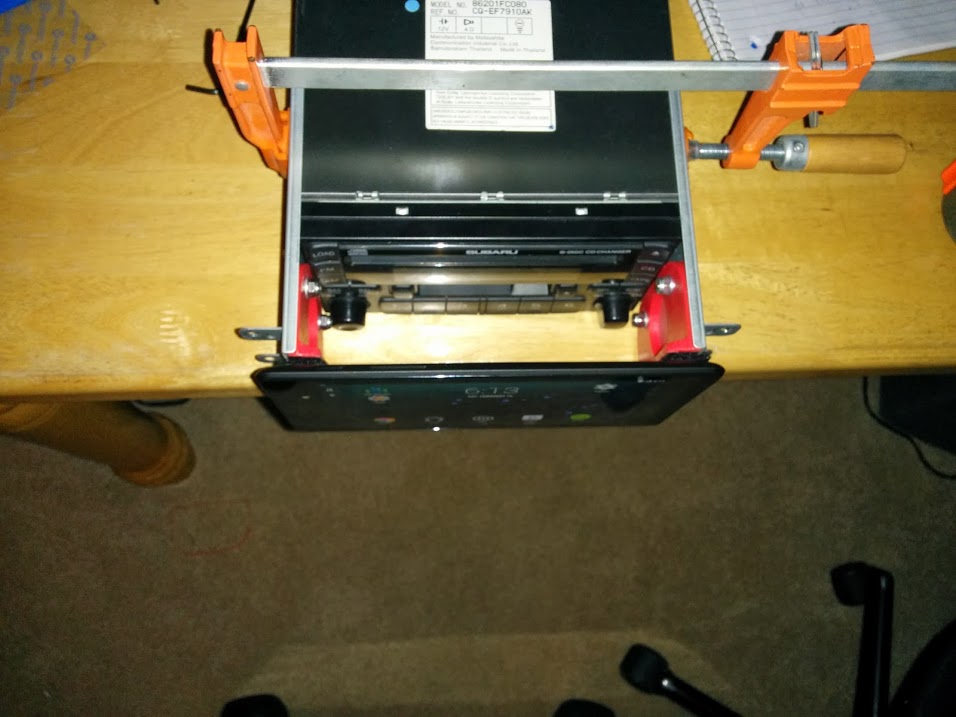
Next, I put my stock double-DIN head unit on my table and clamped the side plates to it, with the new adapter plates and their hook-side velcro strips attached (see photos below). I attached the loop strips to the hook strips and peeled away the backing, exposing the sticky surface. Then, I took the tablet and mated it up to the loop strips. With the tablet firmly stuck to the loop strips, I removed the clamp holding the side plates to the double-DIN head unit, and then removed the side plates from the head unit and the tablet. I firmly pressed the loop strips against the back panel of the tablet.
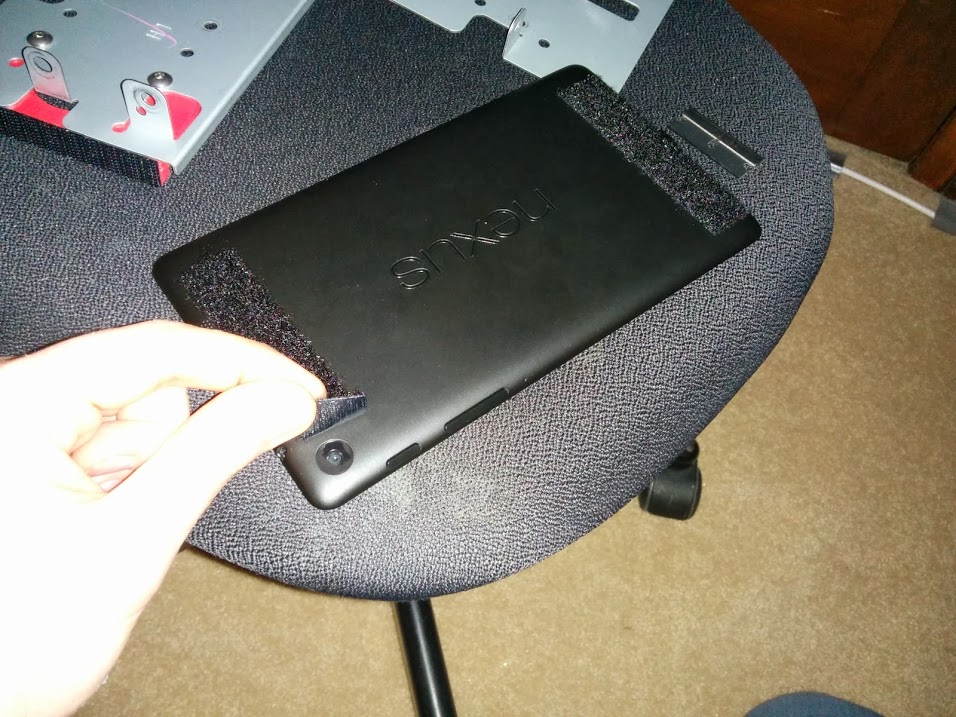
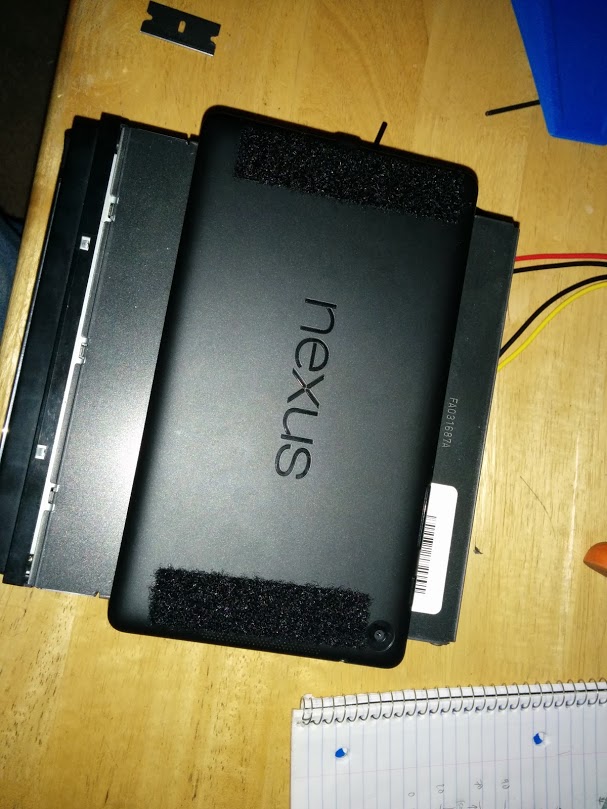
I discovered that one of the loop strips was covering the forward-facing camera lens. I peeled it back and cut it away to uncover the camera. When the tablet is installed in the dash, this camera will be useless, but I haven’t ruled out the possibility of someday removing this camera and moving it somewhere else – perhaps a dash cam or backup cam – so I don’t want to mess up its lens.
Fitting the tablet into the car
Upon attempting to fit the tablet into the opening where the old head unit used to live, I immediately discovered two problems: One, there was a plastic bar across the top of the opening which was in the way. Two, the regular micro USB connector protrudes too far from the tablet to allow it to fit.
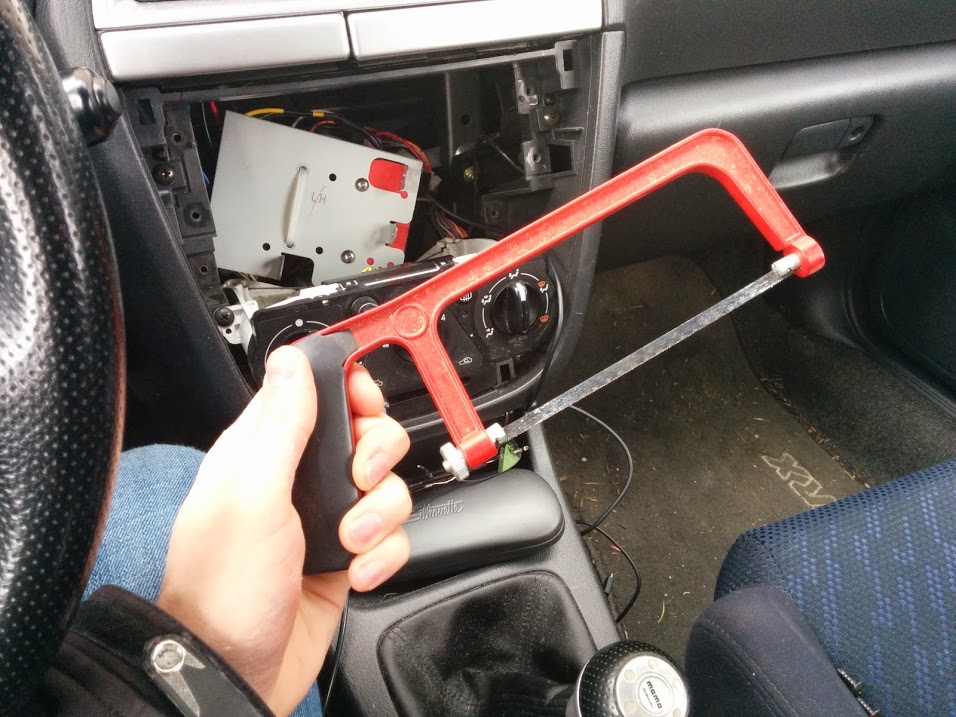
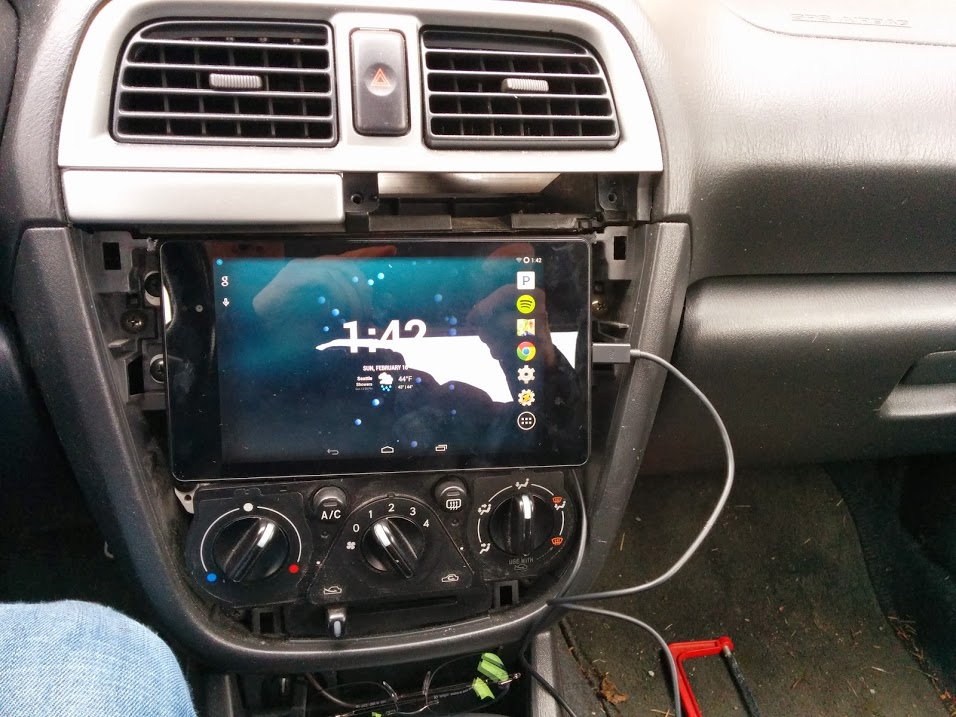
The solution to problem #1 was to simply saw off the plastic bar with a small hacksaw. The bar doesn’t appear to serve any functional purpose, and is not visible after the plastic cover is installed, so I cut it out of there. With the bar removed, the tablet fits comfortably.
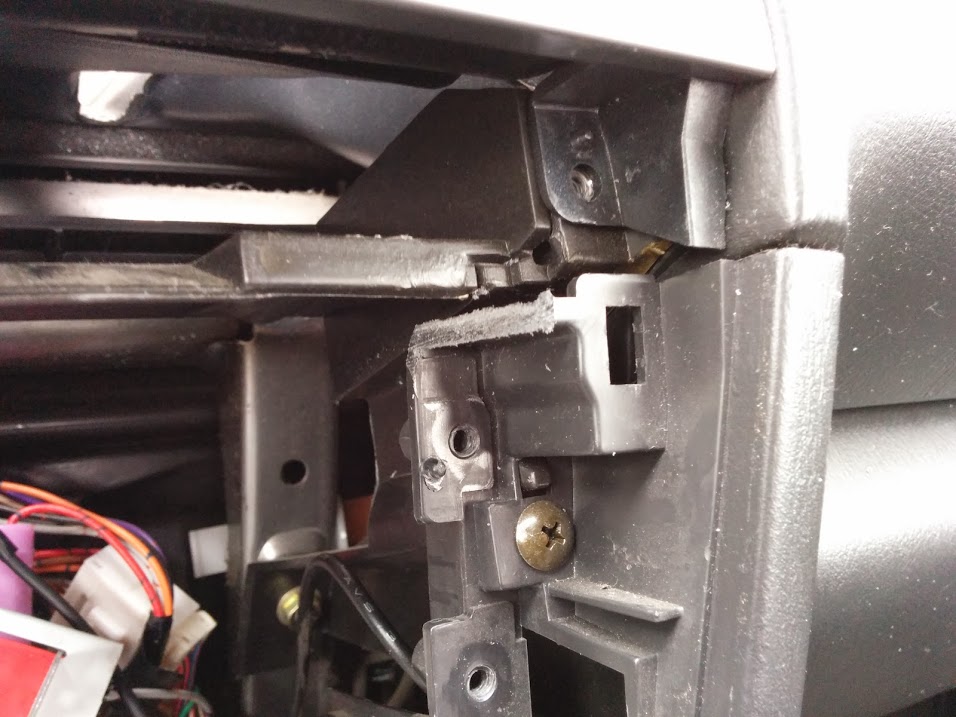
The solution to problem #2 is a right-angle adapter, which mostly solved the problem, but I still had to use a die grinder (a Dremel would also work) to grind away some material from the dash where the USB connector sticks out, and I had to grind away some features from the inside of the car’s stereo/climate controls faceplate to create clearance.

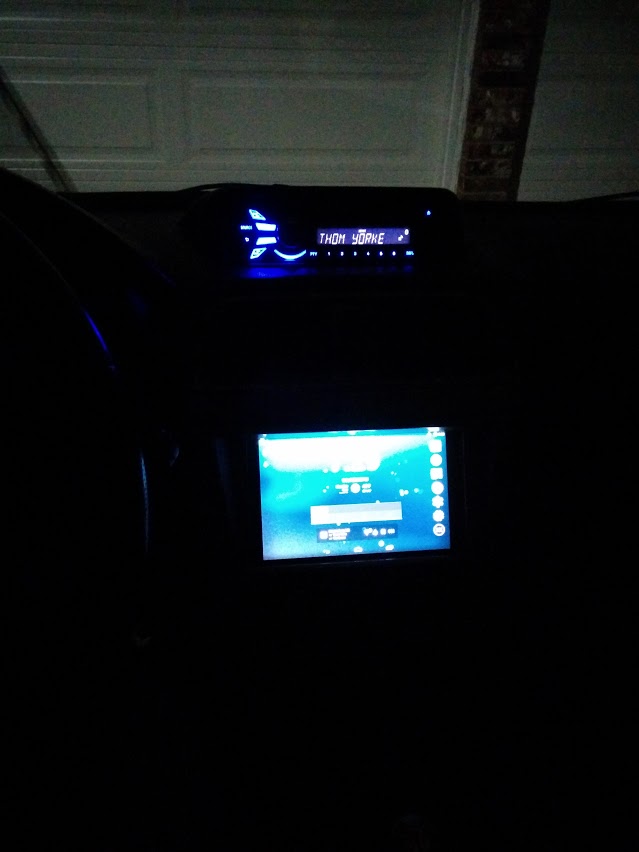
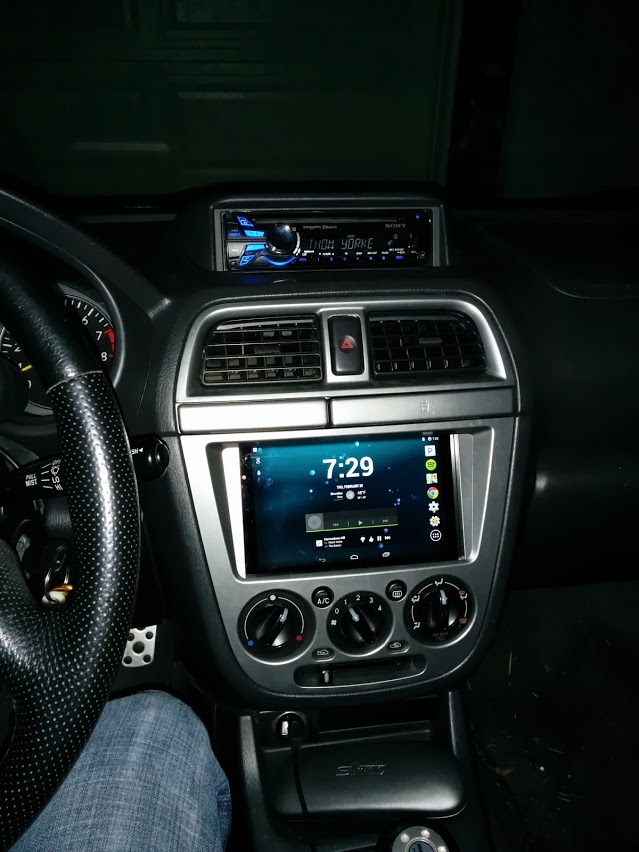
Concurrently with the mounting of the tablet into the dash, I was also installing my single-DIN head unit on top of the dash. I purchased an OEM dash pod unit for about $70 and a bluetooth-capable single-DIN head unit for about $200. The dash pod unit comes with a mounting bracket for a head unit and is made by Subaru for this car specifically, so it blends in well and looks professional. Unfortunately, the screws which came with the head unit are woefully short, and I was just barely able to attach it to the mounting bracket. I still have some work to do there. But, I managed to get it all together, and the end result can be seen below.