For the initial phase of this project, I chose to connect the tablet to the car’s head unit via bluetooth for audio out, and rely on a tethered internet connection to stream all my media, so I didn’t have any need to connect the tablet to anything other than a power source. Later, I may choose to connect the tablet to a number of other USB devices, but that’s a project for another day.
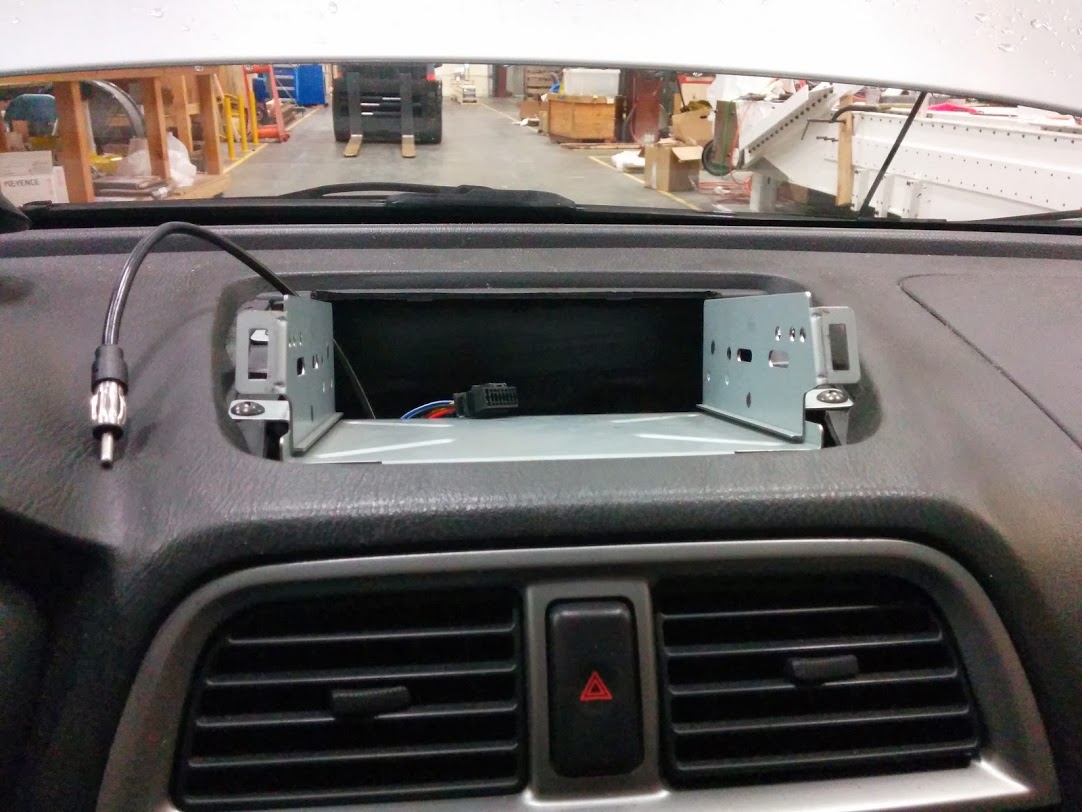
The wiring was the easiest part of this project. I bought my new head unit, which mounts on top of the dash, and a wiring harness for my car. I soldered the harness to the connector that came with the new head unit. This is where the tablet taps into the car’s electrical system.
I wanted the tablet to only connect to the car’s 12 volt power source when the key is in the ignition – I didn’t want the tablet to be draining from the battery 24/7. This is not really much of a concern, considering the car battery holds at least 10 times as much energy as the tablet’s battery, and the tablet can sleep for weeks on a single charge, but setting it up this way turned out to have other benefits which I’ll describe in the software section of this write-up.
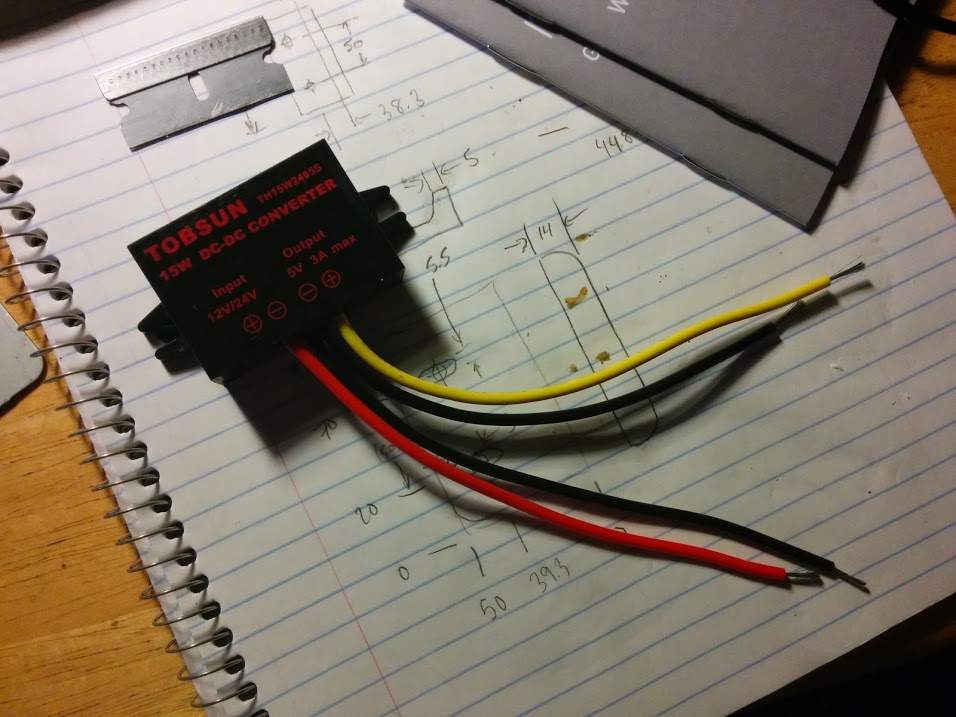
First, I had to find a way to convert the car’s 12-ish volt power supply, which can vary widely during different conditions (and is usually higher than 12), into a steady 5 volt supply that the tablet would be happy with. I ended up buying a 12/24 V to 5 V DC-DC converter which was really cheap and seems to work great. I soldered the +12/24 V lead (red) to the ignition power wire (also red) on the wiring harness. I soldered the source-side ground (black) to the ground wire (also black) on the wiring harness. The ground wire from the head unit also had an extended lead with a terminal that I eventually used to attach it to the car’s body for a better ground (more on this later). I then soldered the output wires to a USB-to-micro-USB cable.
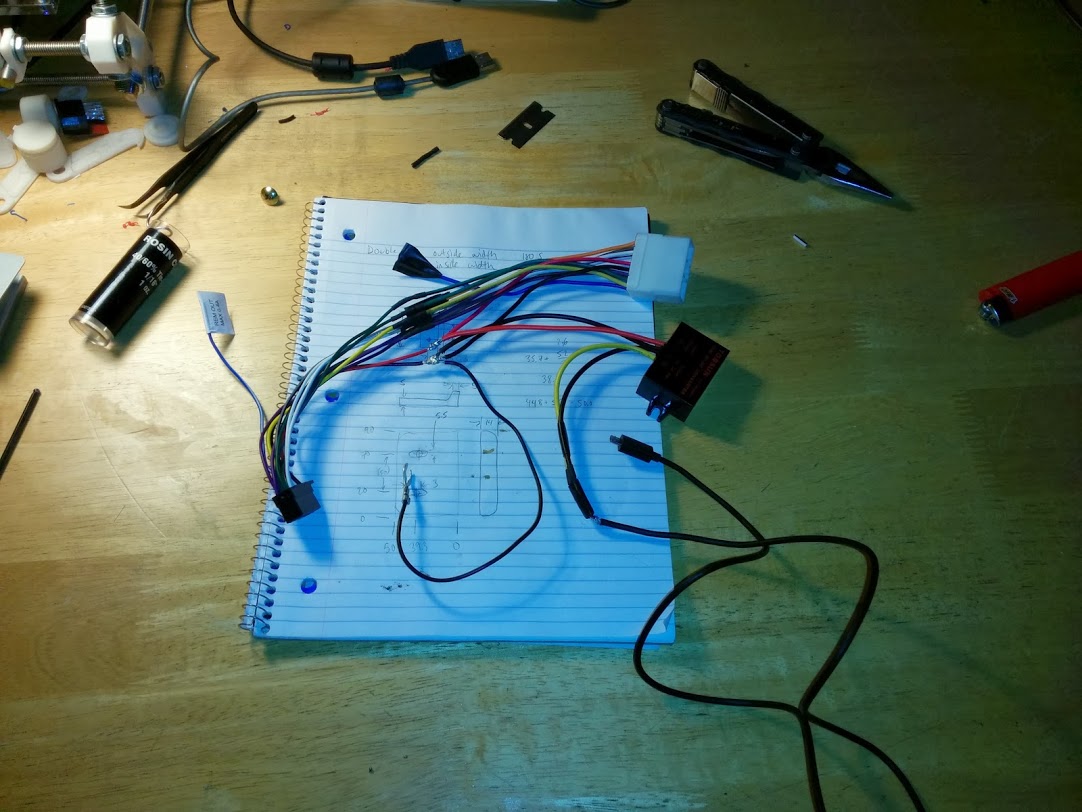
A USB cable contains 4 wires: +5 V power (red), ground (black), and two signals (white and green). I cut off the big USB connector, stripped back the main insulation, and cut away the shielding. I soldered the red wire to the red 5 V wire on the converter and the black wire to the black ground wire on the converter’s output side. An important step here is that you also need to solder the white wire to the green wire. This tricks the tablet into thinking it’s plugged into an AC power supply rather than a USB port on a computer, and thus it will draw much more current and charge the tablet a lot faster. If you skip this step, the charge will not be able to keep up with the power consumption of the tablet when the screen is on, GPS is on, tethering is on, and you’re streaming music. Even the screen alone at moderate brightness is too much for USB power to keep up with.
Finally, the last thing needed electrically was a USB right angle adapter because of a clearance issue in my car. I oriented the tablet with the USB port pointing to the right, so this cable was the one that worked for me. This one has 5 wires, which supposedly will allow it to be used with a setup where you are charging the tablet while simultaneously connecting it to external USB devices (USB on the go or “OTG”) via an OTG charging Y-cable, although I have not tested that yet.
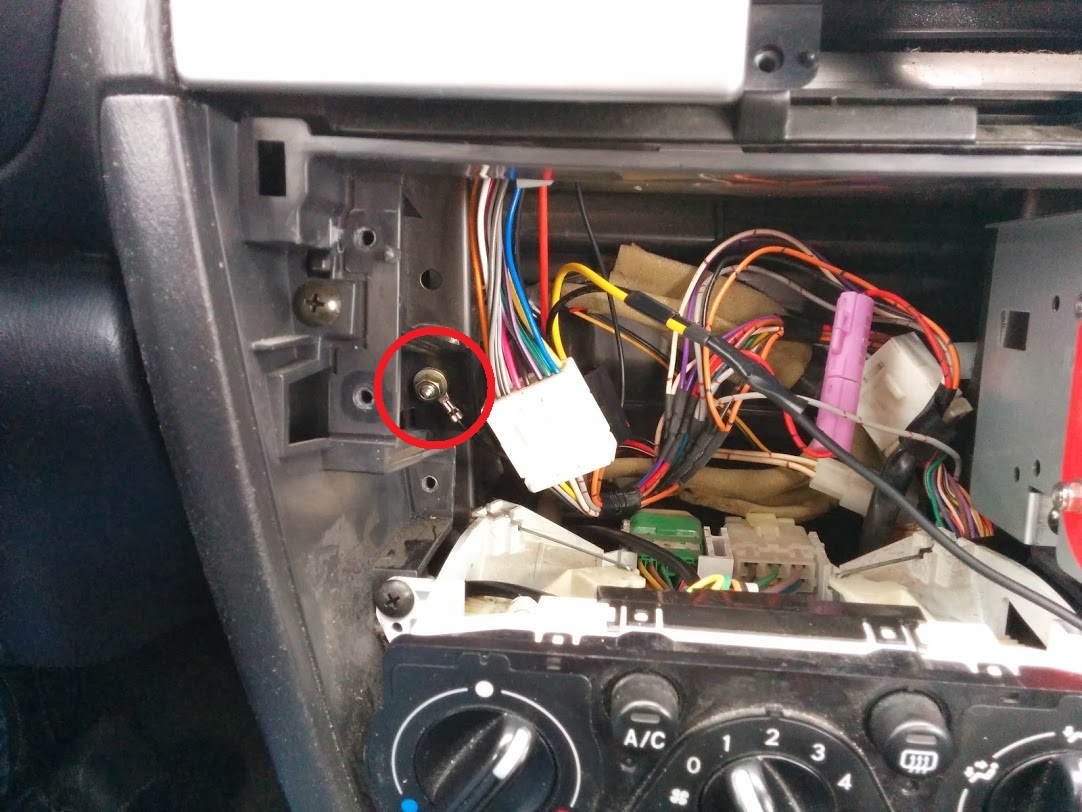
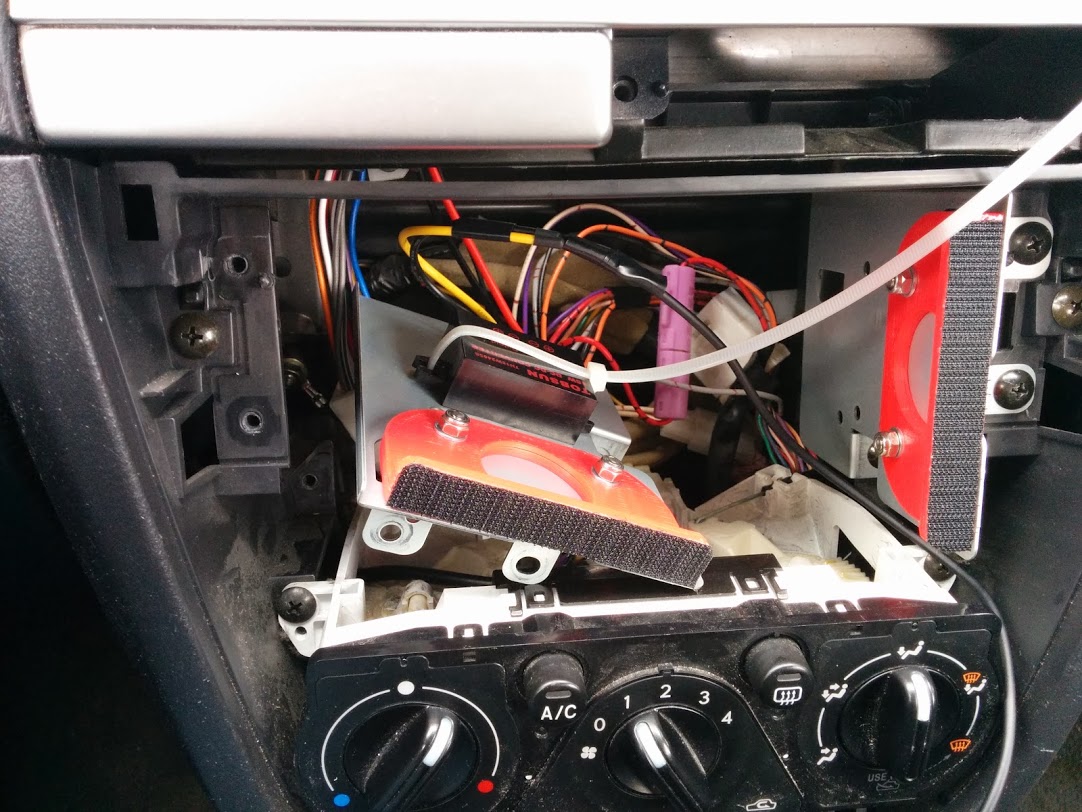
When mounting the harness in the car, I connected the previously-mentioned extra grounding wire to this stud that was hidden behind the old head unit’s home by removing the nut, sliding the terminal over it, and reinstalling the nut. Then, I attached the DC-DC converter to one of the double-DIN side plates using a zip tie.
One final detail to mention is that by relocating the head unit to the top of the dash, I moved it too far away for the antenna cable to reach. I fixed this by buying a short radio antenna cable extension which easily reached up to the new head unit location.